During our remodel my daughter’s bedroom was my little creative baby. Nothing that we did in her room was essential, but it was all very fun, didn’t break the bank, and the outcome has made us all happy. In order to get to her cozy room you have to walk through my son’s room. We originally thought that we would bunk her and my son in one room and then use this as their playroom. Those two really are a pair, but after a couple months of quarantine Emerson declared that she was taking the playroom as her own room. Too much together time gets to the best of us. So now she has a dedicated space to herself, but she still often sleeps in her brother’s room on his bottom bunk.
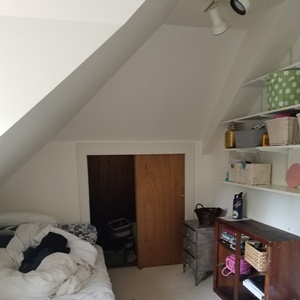
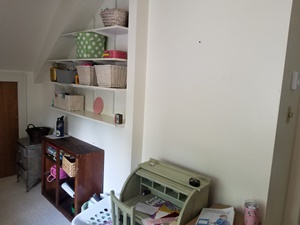
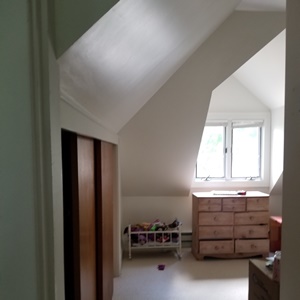
The room was just fine before, and probably a little of paint would have gone a long way. Here are some before pictures. Oh man they are embarassing. Do you ever think when you see before pictures if they would just pick up a little then the space would look so much better? Well there was no staging this mess. My contractor took them about a week or two after we moved in and it is a legit mess, moving mess, shoving things whereever we could find a corner. But this is all I have as before pictures. So here we go…
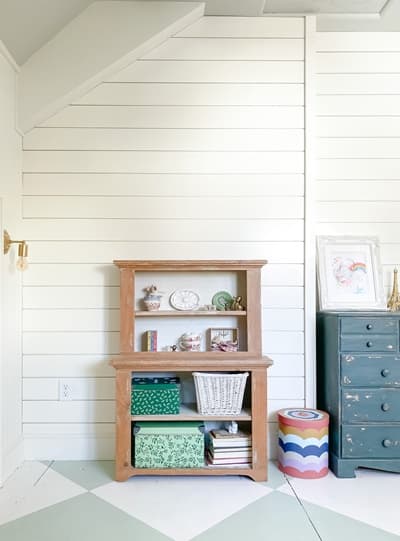
I loved the idea of adding shiplap to the walls in the space to accentuate the angles and attic like feel of the room. I might be a little behind on the relevance of shiplap, but eventhough the intense fad seems to be passing, I think it suites this room perfectly.
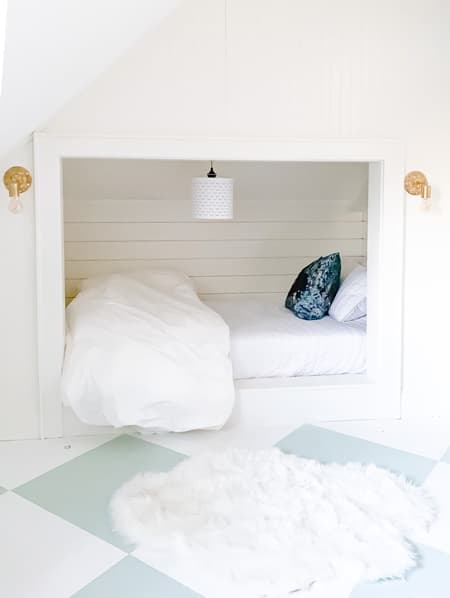
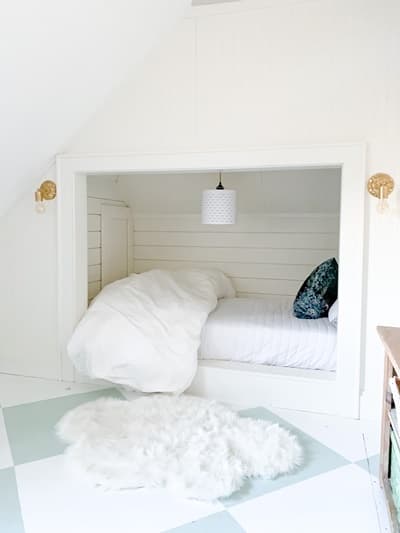
Before the remodel this room two of the walls had short closets that offered storage in the angle of the roof. I thought using a one of these spaces to build a bed similar to one that I had been admiring on pintrest would be a great use of space. The combination of beadboard and shiplap adds to it. Eventhough this orginallywas going to be a playroom, I thought it is always handy to have an extra bed for when guests come, and plus the cute potential had me very excited. The thing about this bed is that the cost was relatively low. Our contractor was to take my idea and draw up a detailed design that there carpenters executed. We had hoped to install built in bunk beds in my son’s room, but those required hiring a specialty woodworker and the quote was waaaaaay out of our budget. So you never know, I do believe it is worth getting quotes for whatever your dreams are and then doing an evaluation on what really can be done.
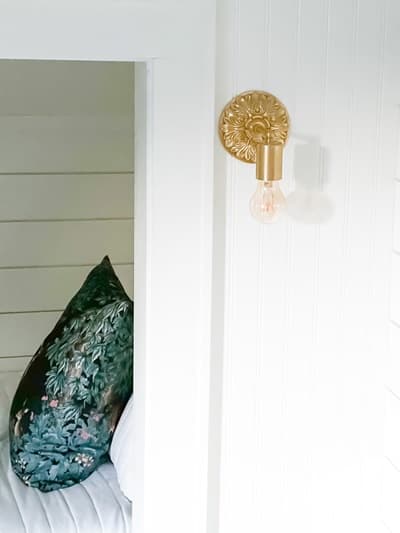
Shopping for lights for this space was one of my favorite parts of the entire remodel. And picking out these sconces was my favorite part of that favorite part. We added an affordable Ikea pendant in the bed, and honestly because the ceiling is angled getting it to fit right was a challenge. It is in place right now, but I am not sure that it will last very long, we may have to replace in the future. But I don’t hate the idea of being forced into more shopping for lights. We added a vintage light to the window space. I actually purchased this for our previous home and never used it, I was glad it finally found a spot out of storage, and like that it adds a little color.
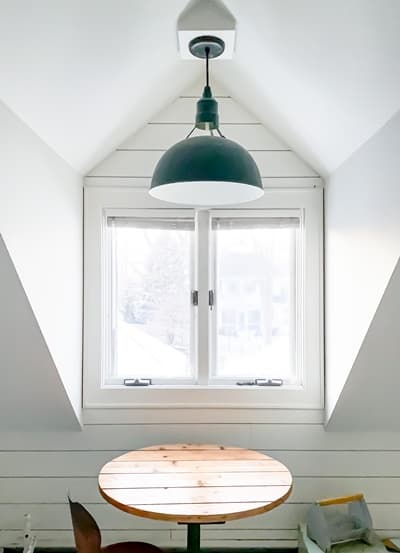
The ways in which we saved money after our intial quote in this room was with a little labor. I painted to closet doors and they turned out fine, it was worth the cost savings for a couple hours of work.
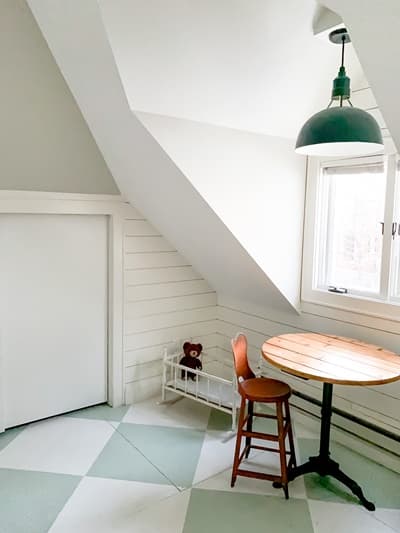
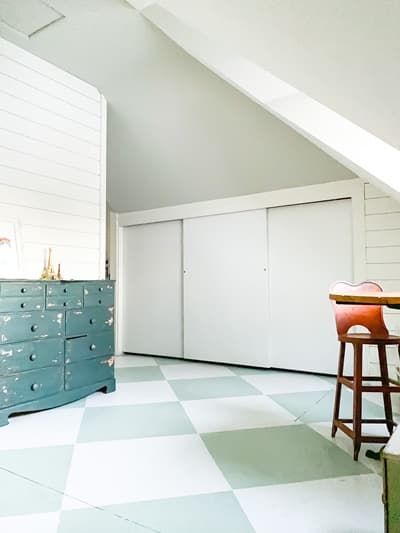
Our plan for the floors was to pull up the carpet, plywood underlayment, and expose the wooden subfloor planks. As we got into the project and the carpet was ripped up our carpenter realized this would not be a good option. The planks had pretty wide gaps, there likely would be layers of glue that held the plywood in place on top, and it would be a mess. This was one of the last parts of our last projects. Our budget was spent, so installing hardwood floors was not an option and I didn’t want carpet. Luckily I had just read Miss Mustard Seed’s Blog posts about painting a checkerboard pattern on her studio floor. I thought this was a worth a try. I followed her tutoria and painted right on the underlayment. In this room some of the underlayment is plywood and some is particle board, so the floor is not a polished look, but I love how it turned out. I actually did two rounds of painting and taping off these squares. I first did white and a greige color squares. The griege appeared more pinkish tan on the floor and I couldn’t live with it. So then I tried the Farrow and Ball Teresa’s Green color matched with Sherwin Williams Porch and Floor Enamel. That was a winner. It was fun, but neutral enough to go with a variety of decor. It was funny at the time the painters in our house thought I was crazy. They did not understand the vision and one thought I was doing an actual black and white checkerboard for my kids to play checkers on, I am not that fun of a mom to do something like that. But they seemed okay with it when I finished, the boss even joked about hiring me. I will take that as a compliment.
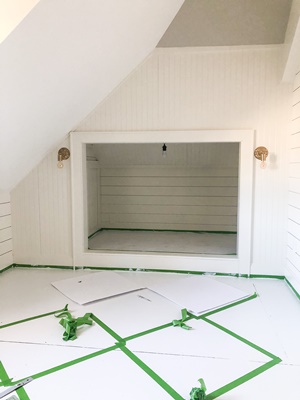
-the process-
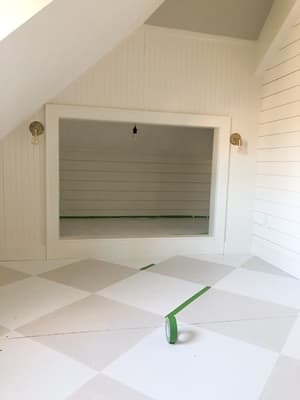
I wasn’t feeling this greige color, so I had to tape off again, luckily I could just follow the lines of the squares and the second time was much faster.
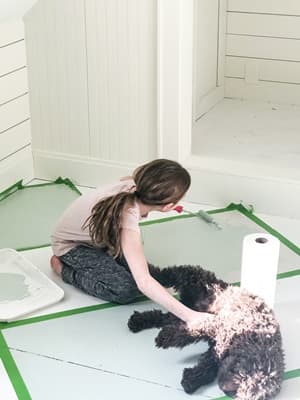
I had a helper. She was putting her sweat equity into her room too. I must say I am impressed with her multitasking.
The other special thing about this room is that it has a secret hideout. Our carpenter discovered a decent size storage room hidden behind a closet that I had forgotten about. I must say the whole family loved this carpenter, especially my dogs, they would wait for him at the door. He was friendly, cheerful, and sang loudly and did not care who heard him. I liked having him and his singing in our house. He saw this space and said “this needs to be a hideout.” He had fond memories of playing in just this kind of hidden place as a kid. So we had them roughly throw up plywood over the insulation to make it safe, and I took a day and painted it all white. It is a fun little space and perfect storage for some pieces I have collected but don’t have a space for, but don’t want to let go of yet.
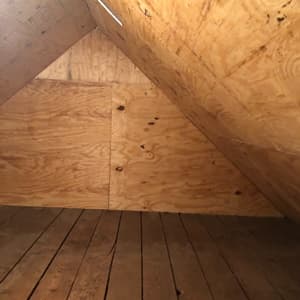
Before painting, but after the plywood had been placed.
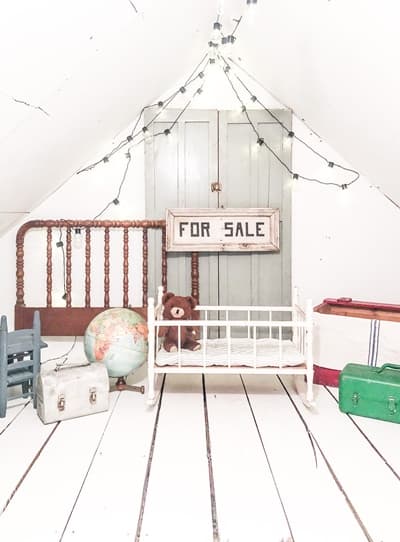
Painted. This space wasn’t my favorite to paint with all the angles, but the outcome was worth it.
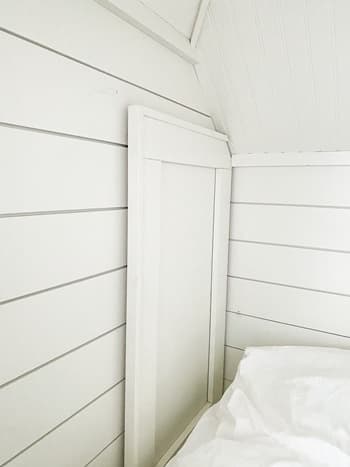
The thing that worked out great and took a lot of ingenuity on the part of my contractor and carpenters was figuring out the access door for the hideout. The bed had already been partial built, and like my contractor said doing either the bed or the hideout would have been easy, but figuring out how to squeeze a door in with the bed was challenge. But they were up for it. I believe they had a loose idea before they started construction as to how they would create a door, but they said they just needed to start building and see what fell into place. We needed an insulated door because the hideout space was not 100 percent insulated and Wisconsin winters require a minimum of 100 percent insulation. In the end they built a crawl space door that is easy to get through, seals tightly with magnetics, and fits in with all the molding. We are so glad they made it work and it looks great. If we had even an inch or two of less space the hideout would have not been an option. It was a bit of a miracle, which is always welcome in a remodel.
