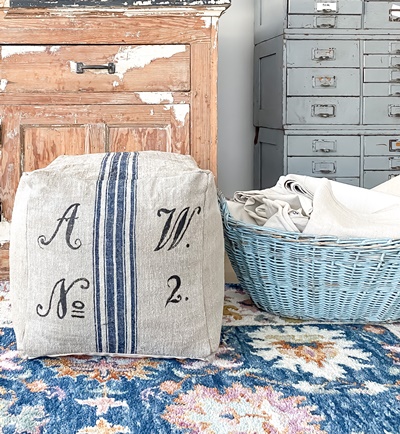
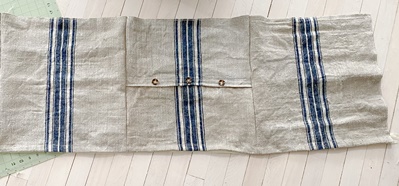
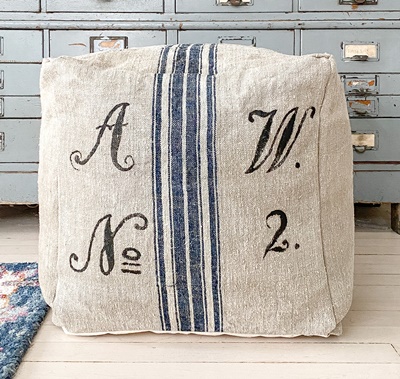
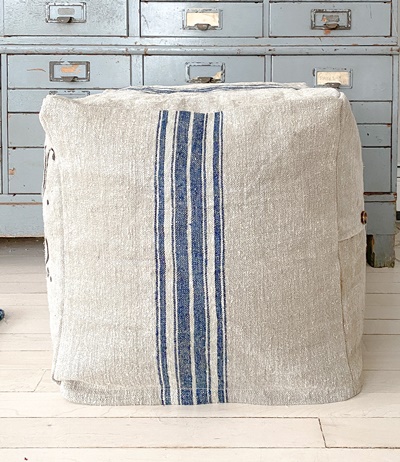
If sewing isn’t your thing or you don’t have the time but would still like to own a grain sack pouf…this pouf along with a couple others will be for sale. They will be avaliable at the grand reopening of Trend+Relic in St. Charles, Illinois on May 1, 2021.
Supplies
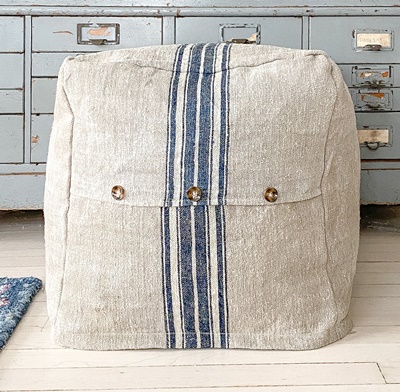
–Pouf insert, for this project I used a 16 inch cube insert. I generally just find an affordable pouf that advertises that it has a removable cover, so I can remove and use the insert.
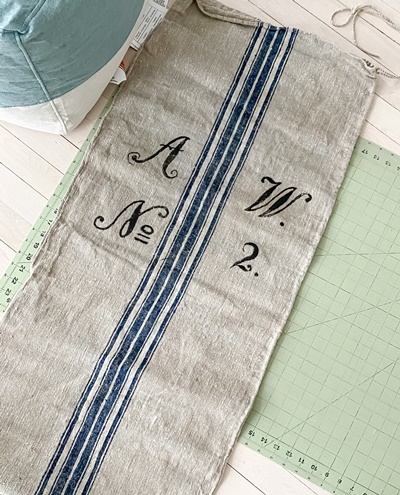
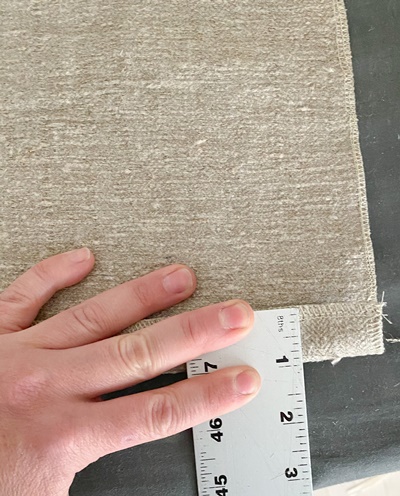
-3 pieces of choice washed fabric measuring 17 inches wide by 18 inches long for the sides (measurements depend on your pouf size, add one inch for seam allowance for the width and two inches for the length for fabric to cover the zipper)
-2 pieces of choice washed fabric measuring 17 inches wide by 17 inches long for side and top (measurements depend on your pouf size, add one inch to length and width for seam allowance)
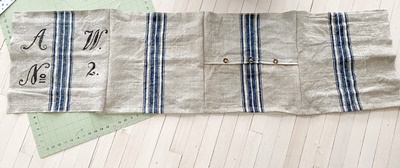
***I typically use one grain sack to sew a pouf this size, I might need a little bit of complimenting fabric to patch it together if I am short on fabric. Some good online shops that sell grain sack fabric include grainsack, Objekts1, and Parna UK.*** Grain sack fabric is great for poufs because it is very durable.
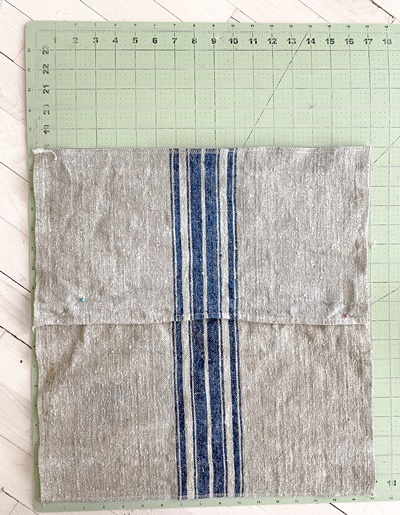
-1 piece of neutral washed canvas fabric for the bottom measuring 17 wide and 17 inches long(measurements depend on your pouf size, add one inch to length and width for seam allowance). You will want sturdy fabric for the bottom.
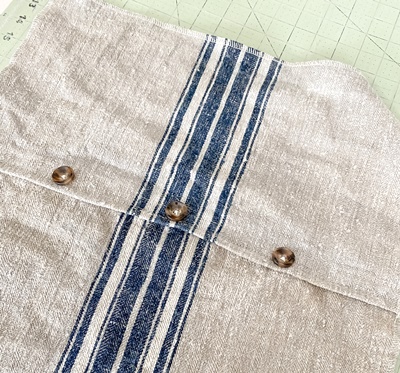
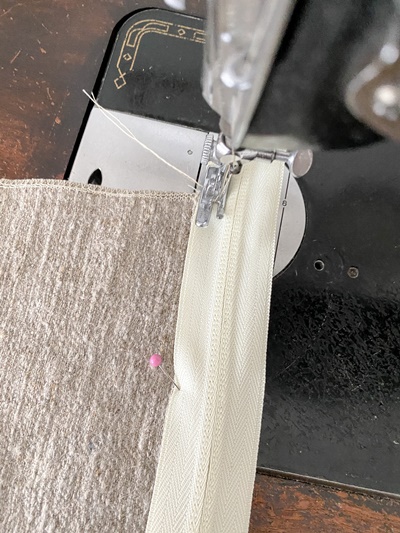
–Upholstery zipper measuring at least 50 inches (again this depends on the size of your pouf, but have a long enough zipper to go the full width of 3 side pieces sewn together).
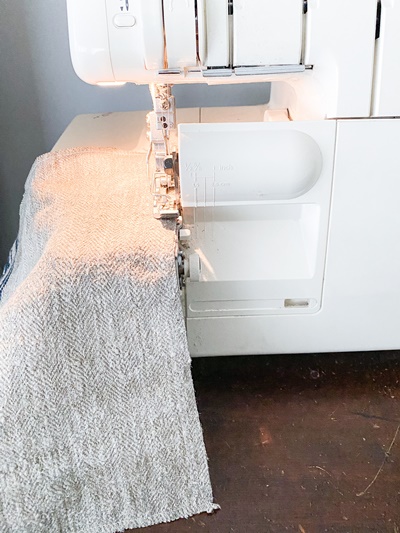
-Sewing machine
-thread
-scissors, rotary cutter, cutting mat, and metal ruler
-Optional Dacron if you like a full look, and upholstery thread to secure
-Optional buttons
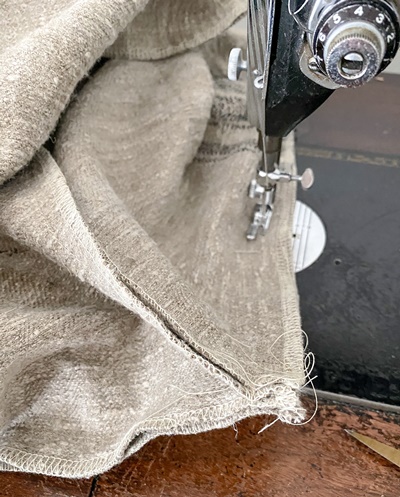
Steps