
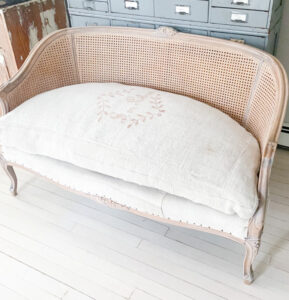
To make a cushion cover(s), I started with my pattern that I created for the seat of the settee. I mentioned this process in the last post, but it would be helpful to have it here too:
CREATING A PATTERN FOR A CUSHION
- I took a large piece of paper similar to wrapping paper and placed it on the seat of the settee:
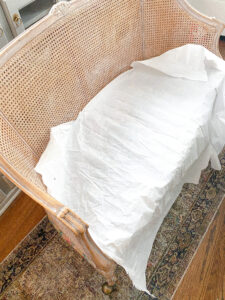
2. I traced around the seat to and cut out the paper:
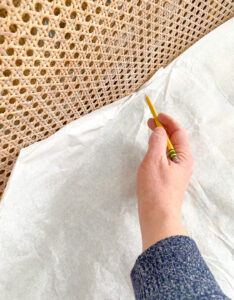

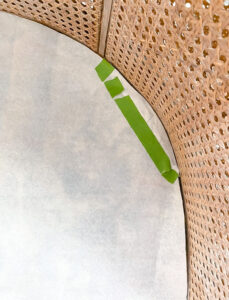
I cut the paper a bit too short in the corner here so, I corrected with with a bit more paper and tape.
CUTTING OUT FABRIC PIECES FOR THE CUSHION
- I first cut out a top and bottom of cushion using a the pattern I created and ADDING 1/2 INCH around the pattern for seam allowance.
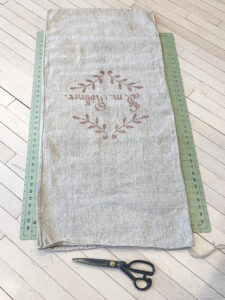
 Since I was using a grain sack in which one side was not wide enough to cover the top, I made cuts on the bottom side, so I could create a piece large enough for the top of the cushion. If you are here, you are likely to know that vintage hemp linen is my thing. The quality and history of the fabric is very special to work with. Here is a list of some of my favorite shops to buy this kind of fabric: Brocante und Antikes, Objekts1, Grain Sack, Linens by Sabine, Antique Monkeys, The Textile Trunk
DO NOT FORGET TO ADD 1/2 INCH ON ALL SIDES FOR SEAM ALLOWANCE
2. Next up is cutting out the sides of the cushion. My cushion was 3 inches tall so I cut one strip that was 4 inches that was long enough to wrap around both sides and front.
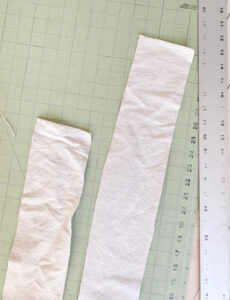
3. Then I cut two 4 inch wide strips long enough to cover the back. These are used for the zipper that will go in the back of the cushion.
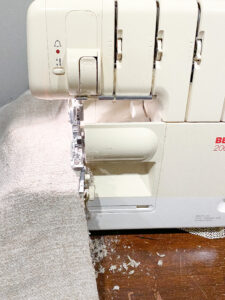
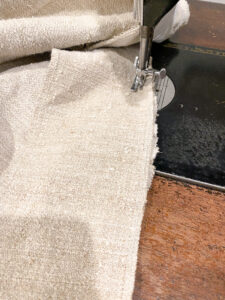
FINISHING EDGES OF FABRIC
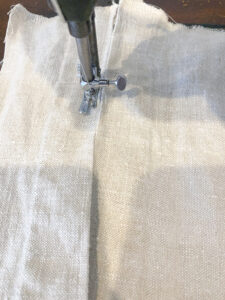
With all the pieces I used my serger to finish off all the edges. If you don’t have a serger you can do a zigzag stitch around all the sides with a sewing machine. This is important if this is a cushion that will be washed in the future. If the edges are not finished there will be a lot of fraying. I did wait to serge one long edge of the strips of fabric used for the zipper because I will likely need to cut it down after the zipper is sewn in.
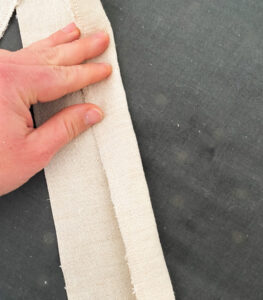
SEWING IN THE ZIPPER
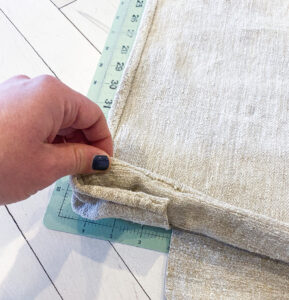
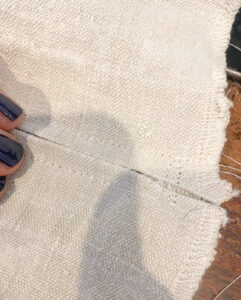
- Using the two strips of fabric I cut for the back zipper, I begin by making an inch fold across the long side of the strips and ironing it into place.
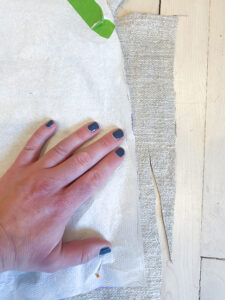
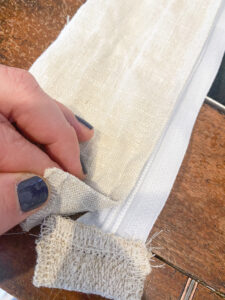
 You can see on one side of the piece of the fabric the serged edge.
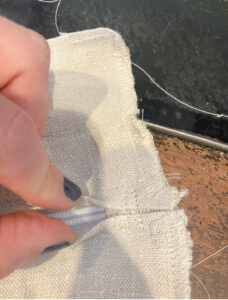
2. Then I sew a small piece of fabric in place on both ends of the zipper to stop the pull from sliding off, unless there is a metal stopper on the zipper already.
3. Then I pinned the zipper in place on one strip of fabric, allowing at least an inch of overlap before and after zipper handle lengthwise and enough fabric to cover one half of the zipper keeping it hidden. Using a zipper foot on my sewing machine I sew it in place.
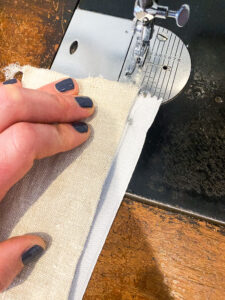
4. Repeat with the second strip of fabric.
6. Before and after the zipper I place a couple stitches to sew the fabric together:
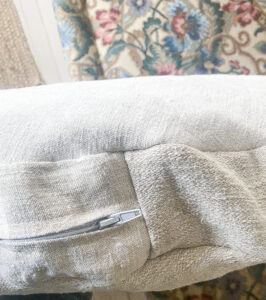
7. I cut my strips too wide on purpose, just to leave room for error. So now with the zipper in place I cut this finished product down to 4 inches so it is the same size as the front strip.
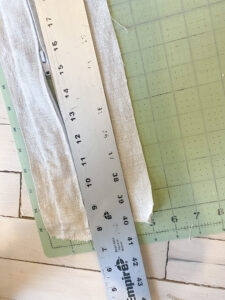
8. After trimming to the correct size, I serged the raw edges.
SEWING CUSHION PIECES TOGETHER
- I begin by sewing one end of the zipper piece with one end of the plain strip for the front and sides. With right sides of the fabric together. I use a 1/2 seam allowance.
- Then using this strip that has one open end, I pin the zipper in place to the top of the cushion piece exactly where I want it. Again with the right sides of the fabric together. Then I continue to pin the plain side piece until it meets the other end of the zipper. Next I connect the other ends of the zipper and plain strip and sew them together. I like to do this at this time because I always seem to get measurements wrong.
- With one side of the zipper/side piece pinned in place with the top of the cushion I sew them together with a 1/2 inch seam allowance.
- Then I pin the bottom of the cushion to the opposite side of the side/zipper piece. With right sides of the fabric facing each other. You must be very careful to line up the corners of the top and bottom at this time. I also make sure a couple inches the zipper is open so that after sewing I can completely unzip it to turn it right side out.
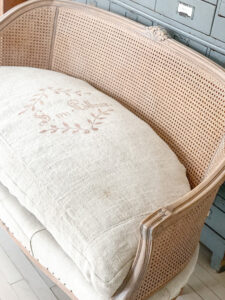
- Sew the bottom in place with 1/2 seam allowance. And turn the cushion right side out.
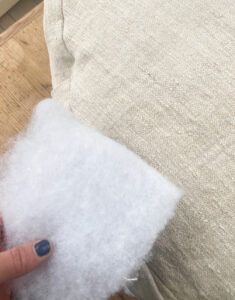
- Then you should have a finished cushion cover. Try it on. Sometimes I find corners can be tricky so I add a bit of batting in them to add a some fluff. I also will cut a couple small slits in the corner pieces of the fabric just short of the seam to avoid some pulling at the corners.
- If the cushion fits then I take the time to add another stitch all around the sides. For upholstery pieces I like to have double seams. If it doesn’t look quite right, that is what a seam ripper is for, I often have to correct sections of my cushion. I typically don’t completely start from the beginning, but I with remove a section of stitching that I am not pleased with and try again with that part. Be patient with the process, these are tricky and take some time, but its definitely worth it in my opinion.
GOOD LUCK!!!
Please email me with any questions, pennyandivydecor@gmail.com