
We have arrived at the final part of this series of DIY reupholstering these two settees, which is replacing the decking or the bottom part of the settee fabric. I recommend reading all the directions before beginning.
REPLACING DECKING/BOTTOM FABRIC
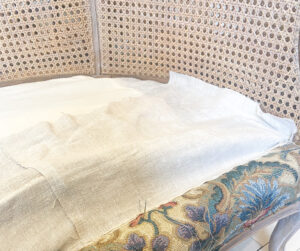
1.I began this project by cutting out a piece of natural colored duck canvas that covered all but approximately 3 inches on the outside of the seat, as pictured:
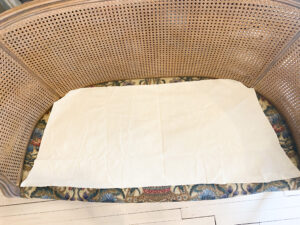
I found no need to remove the previous fabric on the bottom because it was in good condition and I could cover it up.
By using the duck canvas, I was able to use less of the vintage hemp linen. If you notice most upholstered pieced with removable cushions have plain fabric on the bottom pieced together with the fabric that is showing on the outside (and likely the more costly fabric).
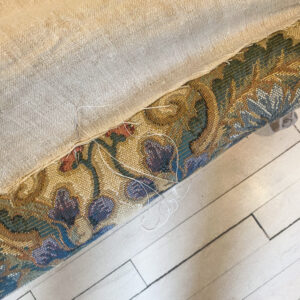
2. I then added at least 8 inches of the hemp linen fabric to all the sides, it needed to be enough fabric to cover a couple inches on the seat and to pull through onto to the sides and nail in place with a fold.
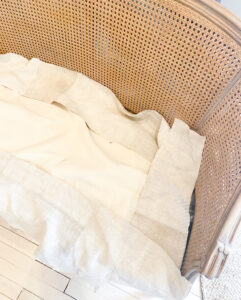
I did a lot of estimating and piecing fabric together for this process. Because of the look I was going for, I was able to piece fabrics together, which made the process much less exact.
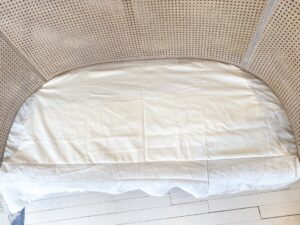
3. I sewed the strips of hemp to the canvas with a double seam and created this fabric piece to cover the entire bottom of the seat:
4. Next up is tucking the fabric around the legs and arms of the settee. This is the trickiest part in my opinion. Proceed carefully. I love using these scissors for the process of slowly cutting into the fabric so that the fabric lies flat, but not too much that any cuts in the fabric are visible. I always try to over estimate on the fabric needed and then make more cuts where in order to get the placement right.
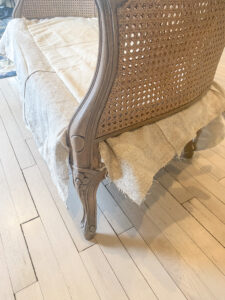
5. Once I am pleased with the way the fabric is placed and tucked under, I flip up the front strip, and do a quick whip stitch at the seam on the bottom to the fabric on the seat. I use a curved needle and upholstery thread to do this.
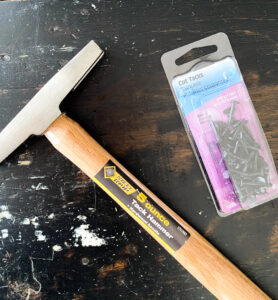
6. Now that is secure, it is time to tack the outside bottom to the frame. I like using carpet tacks for this and I also like my lightweight upholstery hammer to minimize damage to the wood frame. I fold the fabric under so no raw edges are exposed and hammer into place.
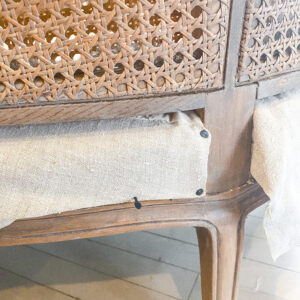
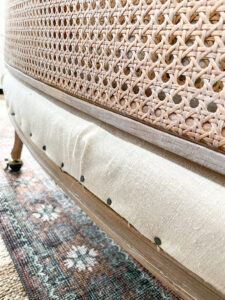
This is another case where I did not mind everything not being quite exact due to the slightly rustic look I was going for. There were times I need to add a fold to the fabric to get it to lie flat and I was just fine with that.
AND WE ARE DONE
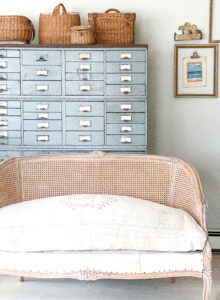
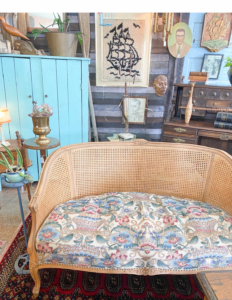
Remember where we started from?
Thank you for checking out this post. Feel free to contact me with any questions at pennyandivydecor@gmail.com.