Makeover of Two Settees Part Three: Cushion Cover
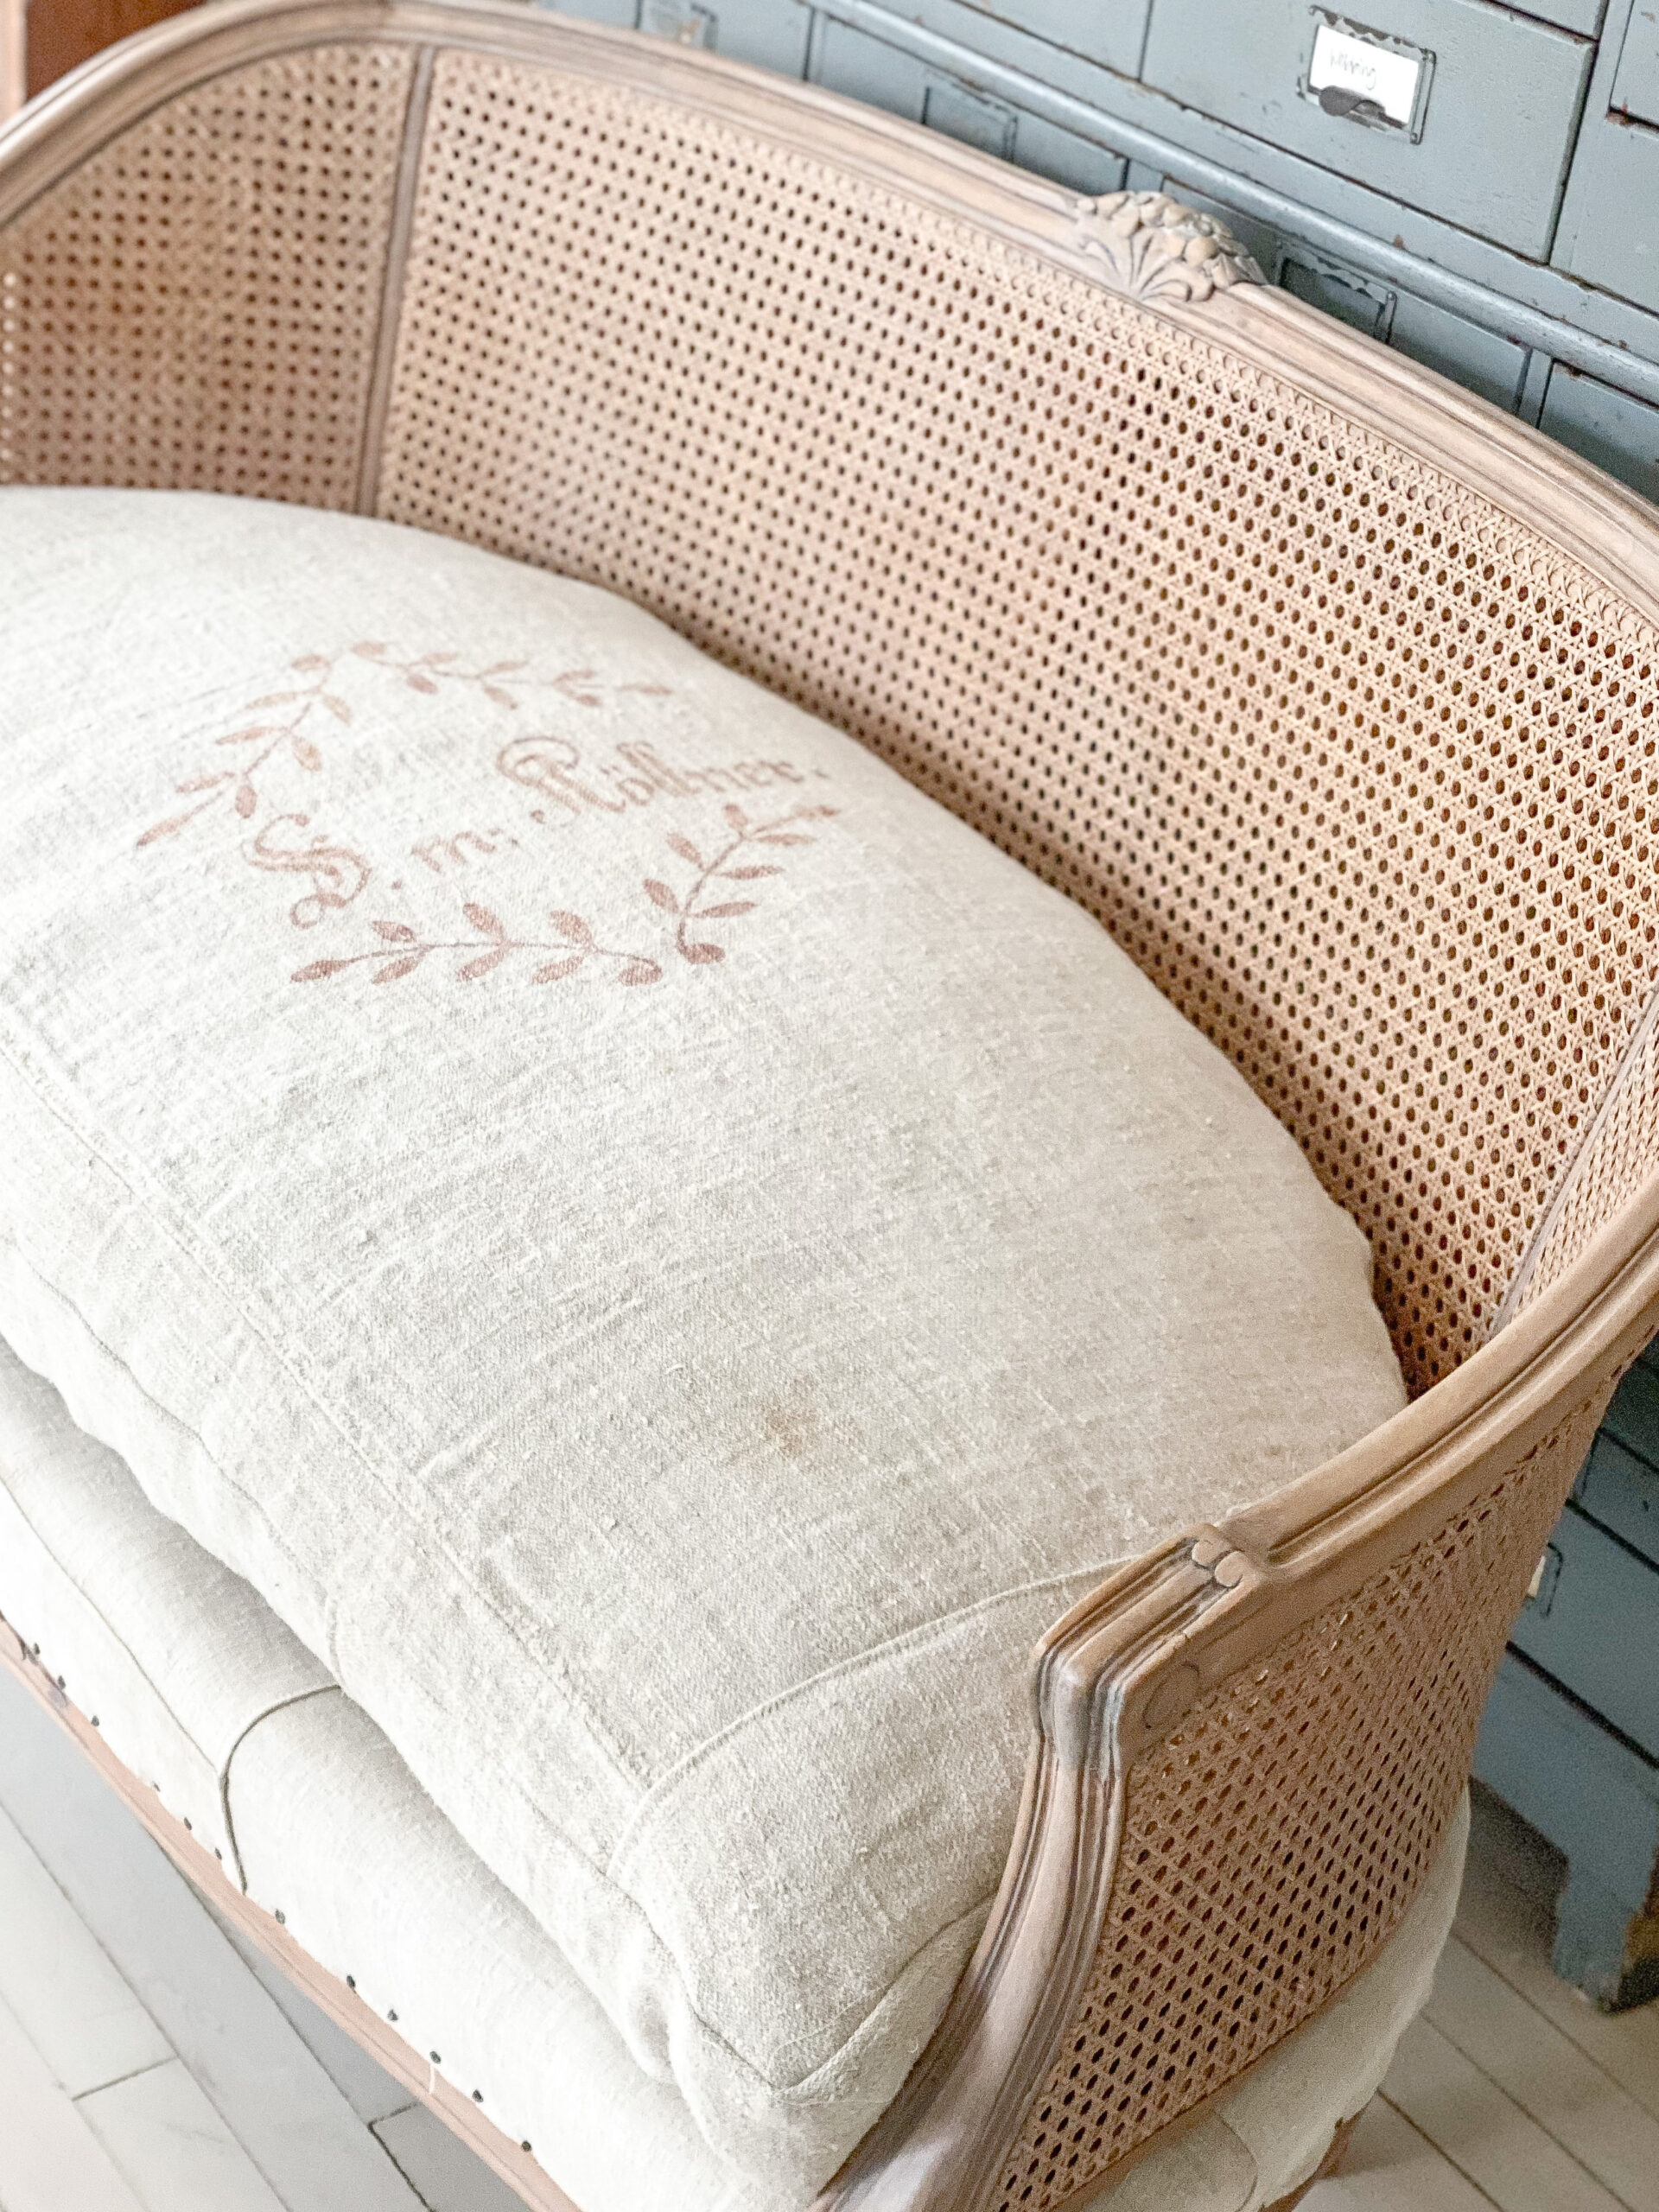
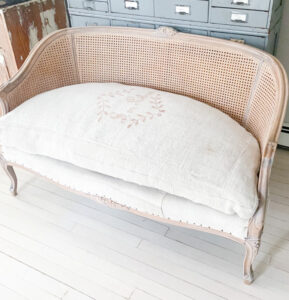
To make a cushion cover(s), I started with my pattern that I created for the seat of the settee. I mentioned this process in the last post, but it would be helpful to have it here too:
CREATING A PATTERN FOR A CUSHION
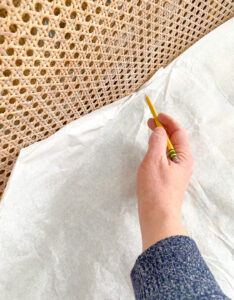
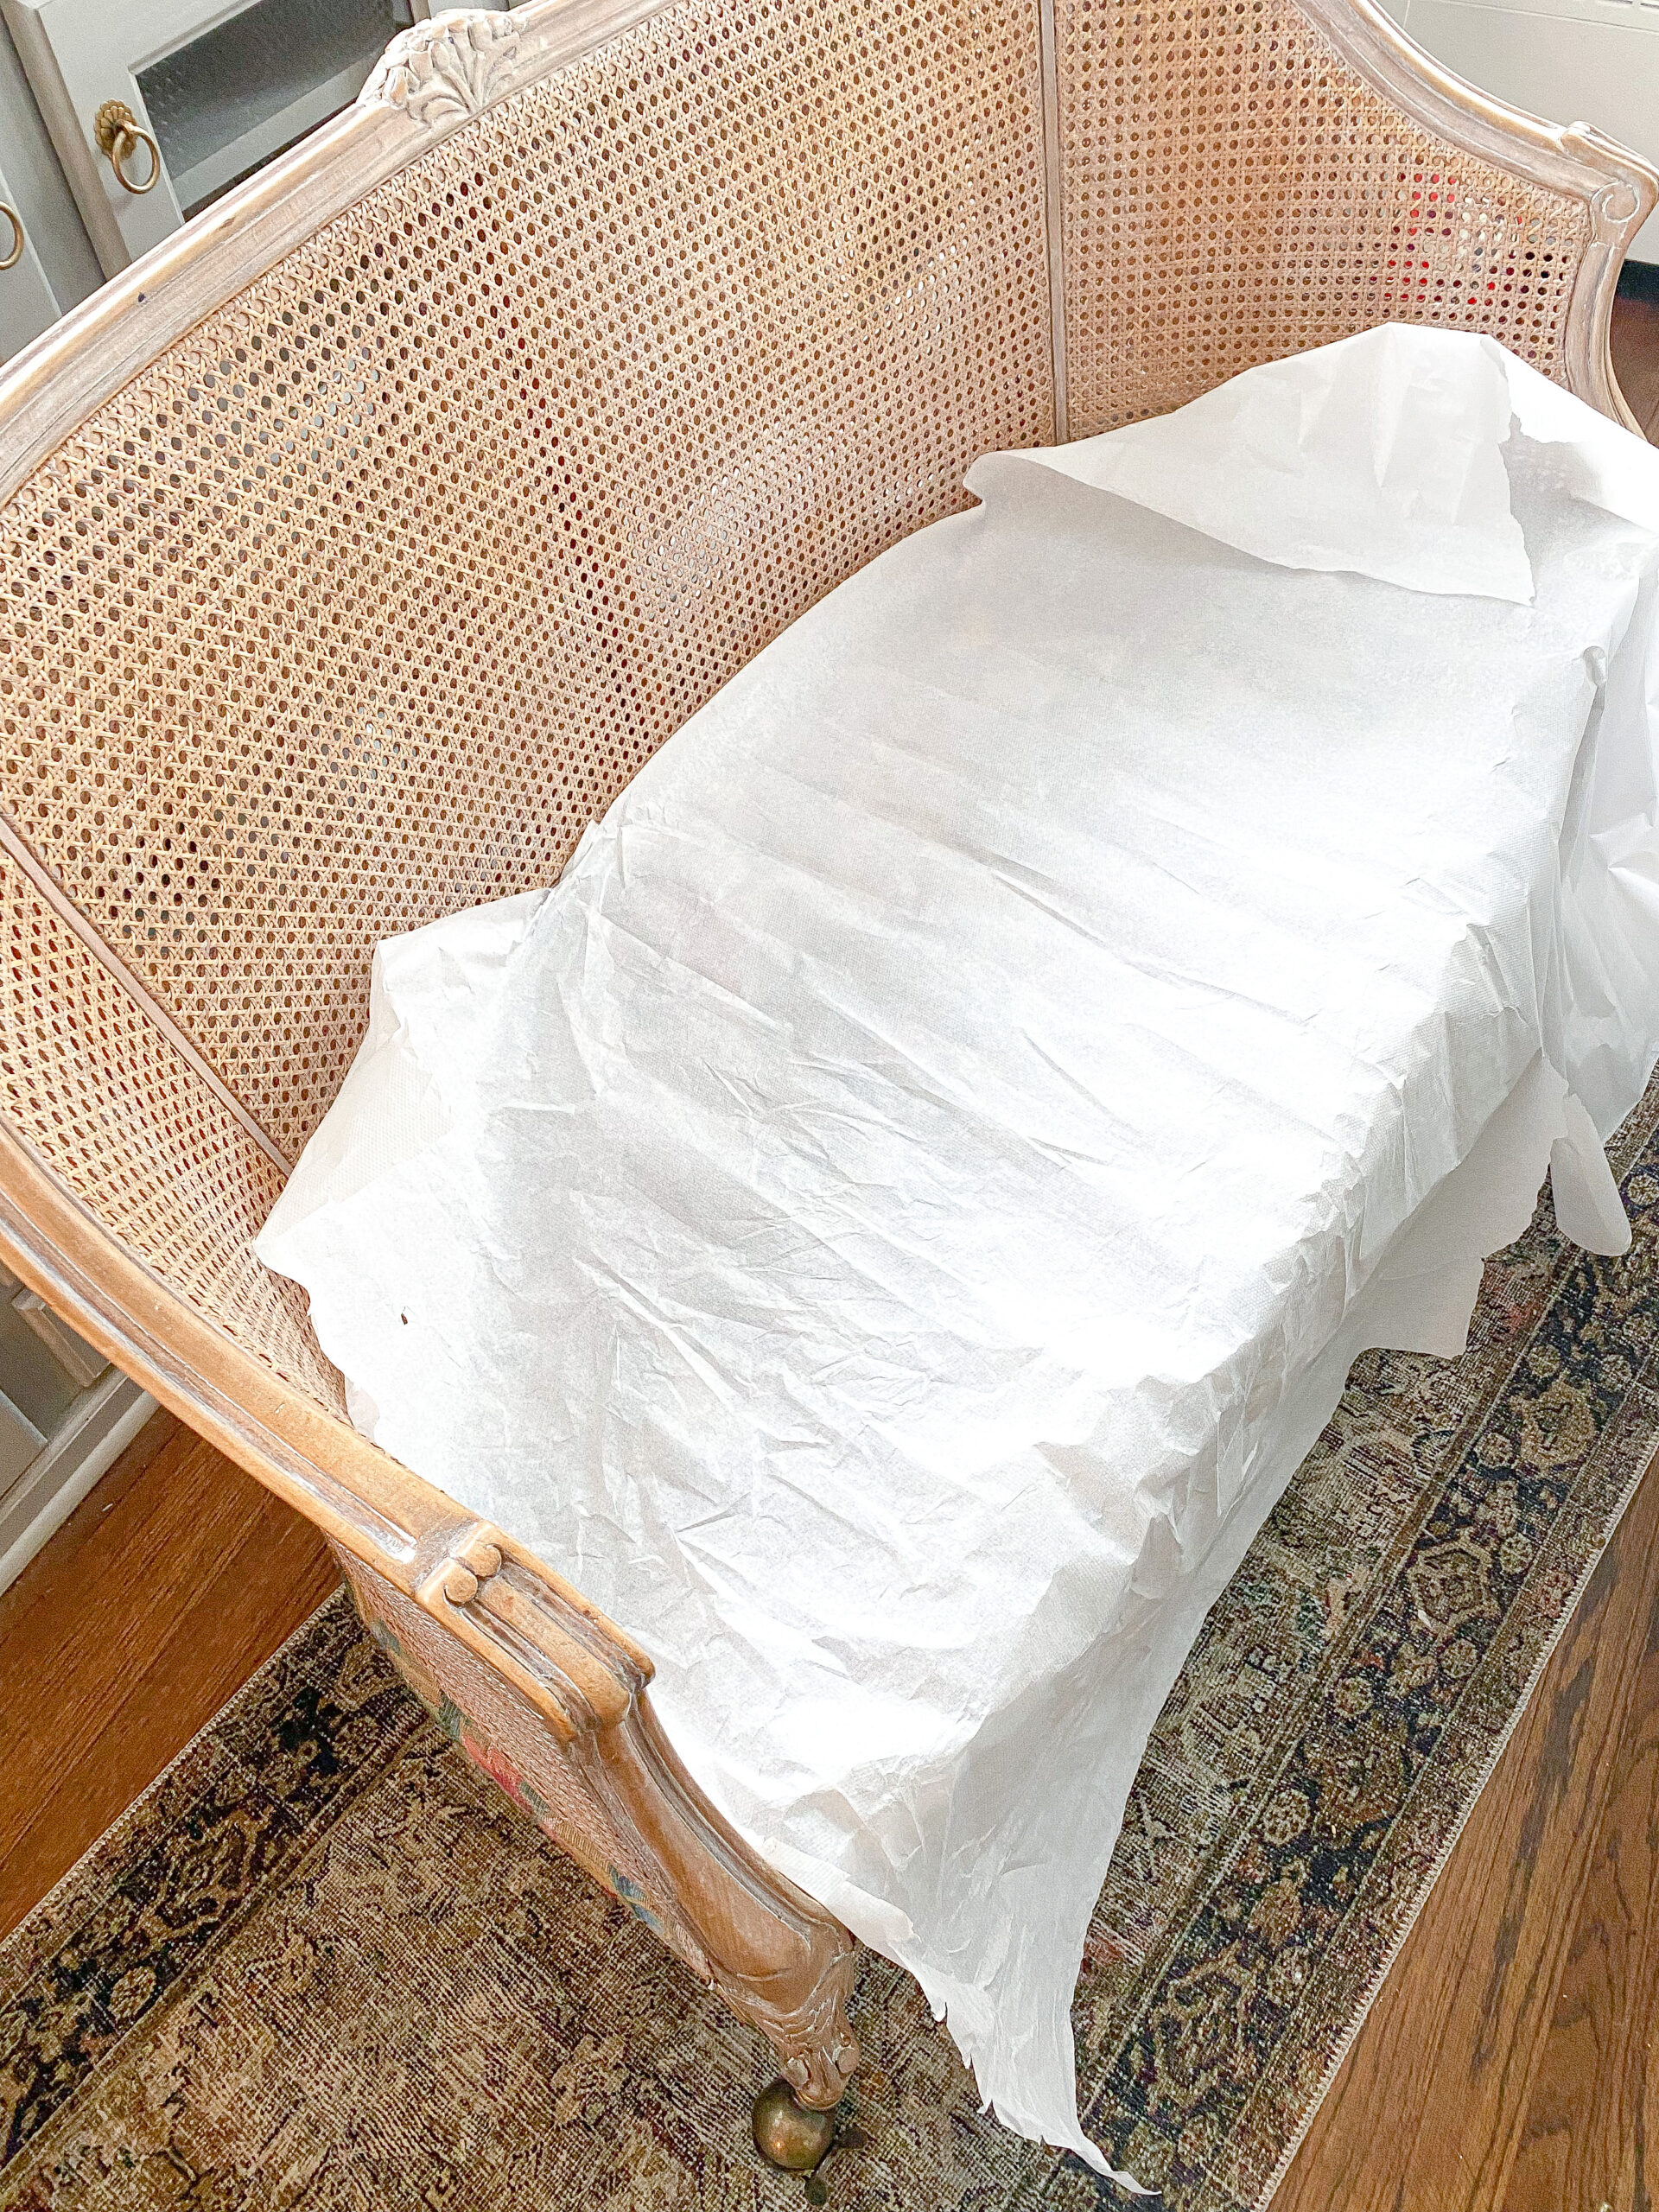
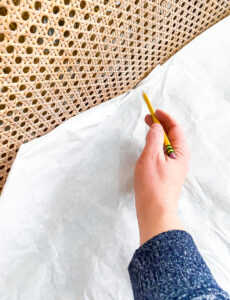
- I took a large piece of paper similar to wrapping paper and placed it on the seat of the settee:
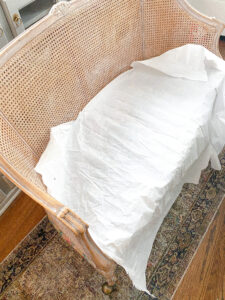
2. I traced around the seat to and cut out the paper:
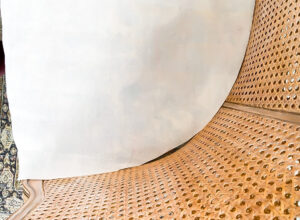
I cut the paper a bit too short in the corner here so, I corrected with with a bit more paper and tape.
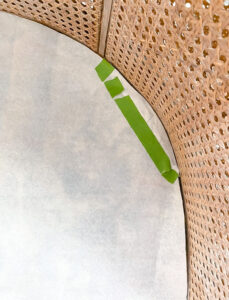
CUTTING OUT FABRIC PIECES FOR THE CUSHION
- I first cut out a top and bottom of cushion using a the pattern I created and ADDING 1/2 INCH around the pattern for seam allowance.
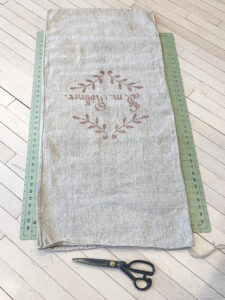
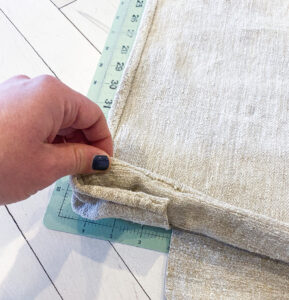 Since I was using a grain sack in which one side was not wide enough to cover the top, I made cuts on the bottom side, so I could create a piece large enough for the top of the cushion. If you are here, you are likely to know that vintage hemp linen is my thing. The quality and history of the fabric is very special to work with. Here is a list of some of my favorite shops to buy this kind of fabric: Brocante und Antikes, Objekts1, Grain Sack, Linens by Sabine, Antique Monkeys, The Textile Trunk
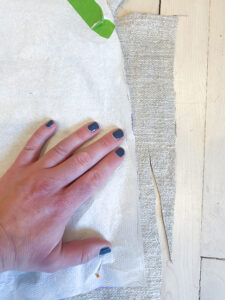
DO NOT FORGET TO ADD 1/2 INCH ON ALL SIDES FOR SEAM ALLOWANCE
2. Next up is cutting out the sides of the cushion. My cushion was 3 inches tall so I cut one strip that was 4 inches that was long enough to wrap around both sides and front.
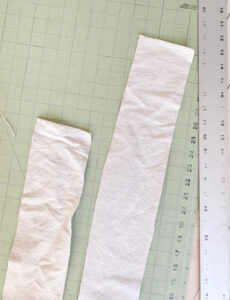
3. Then I cut two 4 inch wide strips long enough to cover the back. These are used for the zipper that will go in the back of the cushion.
FINISHING EDGES OF FABRIC
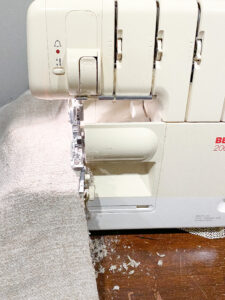
With all the pieces I used my serger to finish off all the edges. If you don’t have a serger you can do a zigzag stitch around all the sides with a sewing machine. This is important if this is a cushion that will be washed in the future. If the edges are not finished there will be a lot of fraying. I did wait to serge one long edge of the strips of fabric used for the zipper because I will likely need to cut it down after the zipper is sewn in.
SEWING IN THE ZIPPER
- Using the two strips of fabric I cut for the back zipper, I begin by making an inch fold across the long side of the strips and ironing it into place.
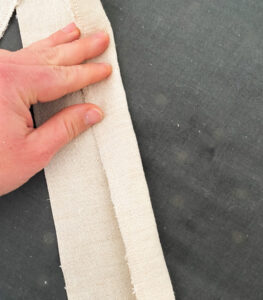 You can see on one side of the piece of the fabric the serged edge.
2. Then I sew a small piece of fabric in place on both ends of the zipper to stop the pull from sliding off, unless there is a metal stopper on the zipper already.
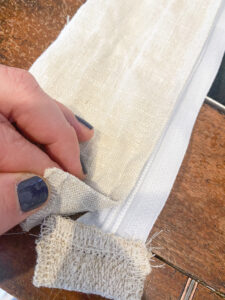
3. Then I pinned the zipper in place on one strip of fabric, allowing at least an inch of overlap before and after zipper handle lengthwise and enough fabric to cover one half of the zipper keeping it hidden. Using a zipper foot on my sewing machine I sew it in place.
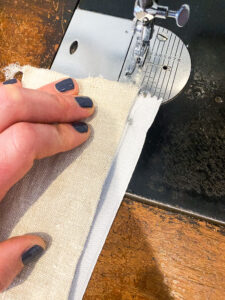
4. Repeat with the second strip of fabric.
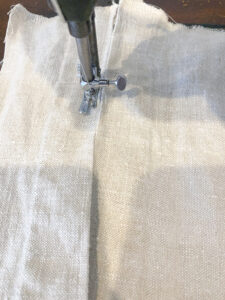
6. Before and after the zipper I place a couple stitches to sew the fabric together:
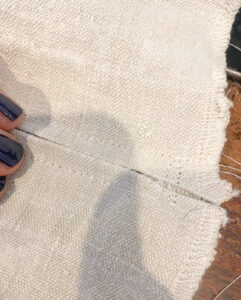
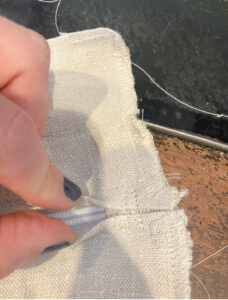
7. I cut my strips too wide on purpose, just to leave room for error. So now with the zipper in place I cut this finished product down to 4 inches so it is the same size as the front strip.
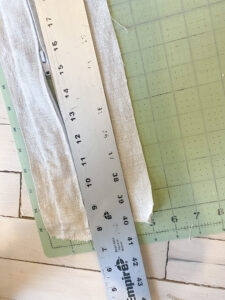
8. After trimming to the correct size, I serged the raw edges.
SEWING CUSHION PIECES TOGETHER
- I begin by sewing one end of the zipper piece with one end of the plain strip for the front and sides. With right sides of the fabric together. I use a 1/2 seam allowance.
- Then using this strip that has one open end, I pin the zipper in place to the top of the cushion piece exactly where I want it. Again with the right sides of the fabric together. Then I continue to pin the plain side piece until it meets the other end of the zipper. Next I connect the other ends of the zipper and plain strip and sew them together. I like to do this at this time because I always seem to get measurements wrong.
- With one side of the zipper/side piece pinned in place with the top of the cushion I sew them together with a 1/2 inch seam allowance.
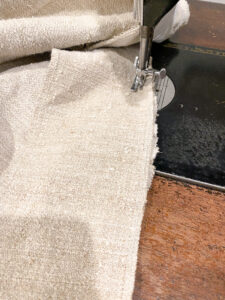
- Then I pin the bottom of the cushion to the opposite side of the side/zipper piece. With right sides of the fabric facing each other. You must be very careful to line up the corners of the top and bottom at this time. I also make sure a couple inches the zipper is open so that after sewing I can completely unzip it to turn it right side out.
- Sew the bottom in place with 1/2 seam allowance. And turn the cushion right side out.
- Then you should have a finished cushion cover. Try it on. Sometimes I find corners can be tricky so I add a bit of batting in them to add a some fluff. I also will cut a couple small slits in the corner pieces of the fabric just short of the seam to avoid some pulling at the corners.
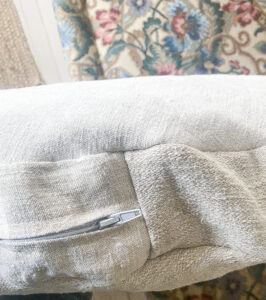
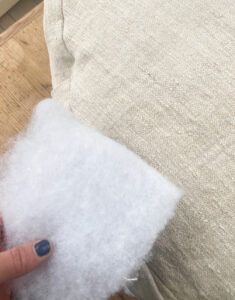
- If the cushion fits then I take the time to add another stitch all around the sides. For upholstery pieces I like to have double seams. If it doesn’t look quite right, that is what a seam ripper is for, I often have to correct sections of my cushion. I typically don’t completely start from the beginning, but I with remove a section of stitching that I am not pleased with and try again with that part. Be patient with the process, these are tricky and take some time, but its definitely worth it in my opinion.
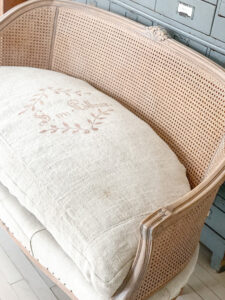
GOOD LUCK!!!
Please email me with any questions, pennyandivydecor@gmail.com

The Makeover of Two Settees Part Two: Reconstructing the Down Seat Cushion
So as luck would have it, a couple months after I purchased the first settee for our home I was checking IG and I saw a picture of my settee for sale at Goodland Antiques. What? TWO of them exist??? I knew I wanted the second to reupholster for resale. I sent a note to Ann, the shop owner and placed my claim on it.
The biggest surprise with these pieces was the state of the cushions. The interior fabric was almost completely disintegrated. So I need to remove the feathers and reconstruct the interior cushions. I suppose if the exterior fabric did not have piping or a zipper you could just leave the exterior fabric on and make a new cover for it. But my cushions had both. In my experience, every single vintage furniture piece has a surprise or two that you find once you get to work changing things up. There really is no way that the Antique shop I purchased them from would have known that if I wanted to redo them, I would have to reconstruct the cushions. They were in perfect working order if I kept the fabric that they had on them on them. That is all you can expect when buying a piece of vintage furniture.
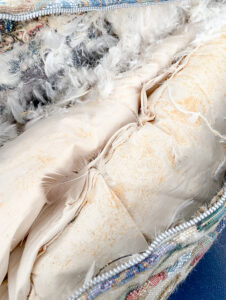
see the feathers are about to take flight
For the purpose of this being a tutorial, for this section I am going to go through the process that I used on the second settee to reconstruct the seat cushion. Because I did in fact learn more the second time around. Although I am pleased with the results of the first settee, the second is better.
Step 1:
I made a pattern of the seat with some paper. I did this by placing a large piece of paper. You can do this with wrapping paper. Then I carefully traced around the seat and cut it out. I double checked my work by replacing the paper on the seat and saw that there were some spots that I cut too short. I taped more paper on those edges and cut true to size.



Step 2:
Into the down feathers I went. I did my best to carefully remove the previous cushion. I tried to work on this in a clean, contained space because feathers will get everywhere and I wanted to chase down as many as could. I found the second settee’s cushion to be in slightly more intact condition, not working condition, but it at least provided more clues as how to reconstruct. The cushion was a down envelope around a piece of two inch high foam.
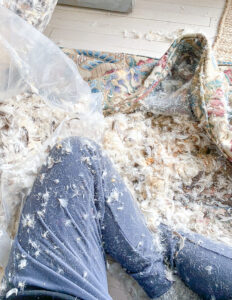
The cushion was a down envelope around a piece of two inch high foam. I carefully removed the foam and tried to keep the feathers contained in the original cushion cover. The foam was not in great condition, but I was able to use it as a pattern for new piece of foam. I traced the old foam piece onto a new foam piece and used an electric carving knife to cut it out.
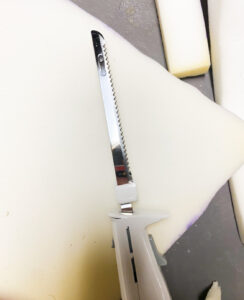
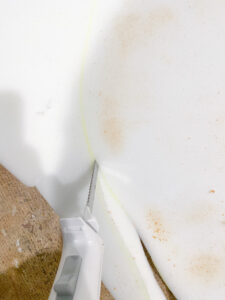
Step 3:
I set the foam piece to the side, while I worked on redoing the envelope part for the cushion. I found that the original cushion had two thin, top and bottom feather cushions that were held together by strip of 4 inch fabric edges. The back of the cushion allowed space for foam to slide in in-between the two feather cushions. So in order to recreate this I needed 4 pieces of liner fabric (I actually just used an old clean sheet) cut to size, I cut the fabric one each 2 inches larger around the entire pattern. If I were sewing a cushion cover I would cut the pieces 1/2 inch greater than the pattern to allow for 1/2 seam allowance, and then I end up with a snug fit. But since this would be used for stuffing a plump cushion I wanted to add bit more fabric make it easier to stuff and allow room for the feathers. I also cut a strip of 4 inch fabric to go around the edges of the cushion. My cushion was 3 inches high, so 4 inches was right with a 1/2 inch seam allowance. I did not worry about adding extra fabric to this strip like I did for the top and bottom pieces.
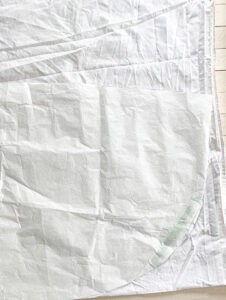
Step 4:
These steps are a bit tricky for me to explain, and I am visual so I attempted a diagram. Hopefully it helps, not confuses you more:
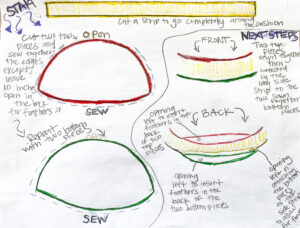
With a 1/2 inch seam allowance, I sewed two of the four of the large pieces together leaving approximately a 10 inch opening in the back to allow for stuffing feathers. Then I repeated this with two the last two pieces. I turned these right side out, which I don’t really think is entirely necessry. This will be completely covered and if you left it wrong side out it would be fine. Then I took the strip of 4 inch fabric and sewed it all the way around the edges of one of the finished larger pieces with a 1/2 seam allowance, careful not to sew the opening for feathers closed. Then I did the same for the second pieces, sewing it onto the other side of the strip. But this time I did not sew it completely around, I left approximately 24 inches open in the back in addition to the opening for the feathers. This allows an opening for the foam. In doing this it left unfinished edges on the 4 inch strip.
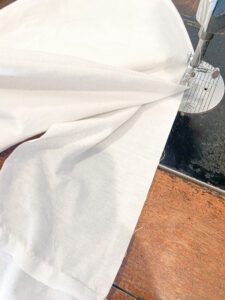
Step 5:
I did my best to stuff the down feathers evenly between the top and bottom cushions. I stitched up the openings for the feathers to keep them contained, careful to still allow for the opening of the foam.
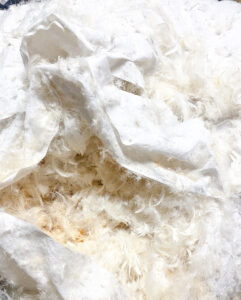
Step 6:
I stuffed the foam in place in the envelope of feathers. I actually found that my foam felt a little too substantial for the cushion, if made more of a flat look versus a pillow like cushion. I believe this is because the foam was just in so much better condition and possible quality versus the old one. So I played with the size by trimming the sides to get it the right feel.
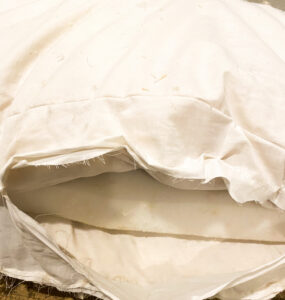
Step 7:
I am going to let you decide if this was necessary. Originally I thought that the cushion could just be stuffed into another liner and be good to go, not a complete reconstruction. Since I had it on hand, I thought I would use it. I had already cut fabric to create this:
– I did this using duck canvas, leaving an extra 2 inches on all sides of the pattern and cutting a 4 inch strip for the sides.
-I sewed the 4 inch strip completely around the top.
– I connected the ends of the 4 inch fabric and sewed those together.
-Next is sewing the bottom part to the other side of the 4 inch strip. leaving about 20 inches open to allow for stuffing the cushion in.
-Turn the piece right side out. And stuff the cushion in place. Finally stitch up the back opening.
Step 8:
To add a little extra padding and making the cushion have a full look, I added a layer of Dacron. I wrapped the cushion carefully in Dacron as not to change the shape of the cushion. If you prefer more precision you could use the pattern of the seat and cut two pieces allowing an extra 1/2-1 inches on each side for stitching and 4 inch strip for the sides. When the Dacron is in place, I secured it with a loose hand whip stitch. This completed the reconstruction of the cushion, and in the end I had a very high quality cushion that used all the precious down that was still in excellent working condition after decades of use.
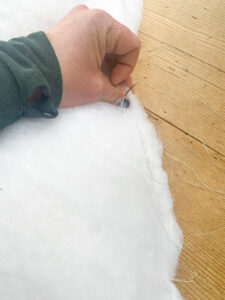
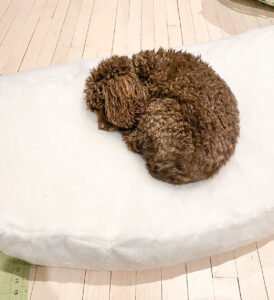
Nice and comfy, this one was probably the cushion for my settee, I do my best to keep my dogs away from items I try to sell. But sometimes they do sneak in there.
Next up is making the cushion cover…

