Vintage Sofa Redo
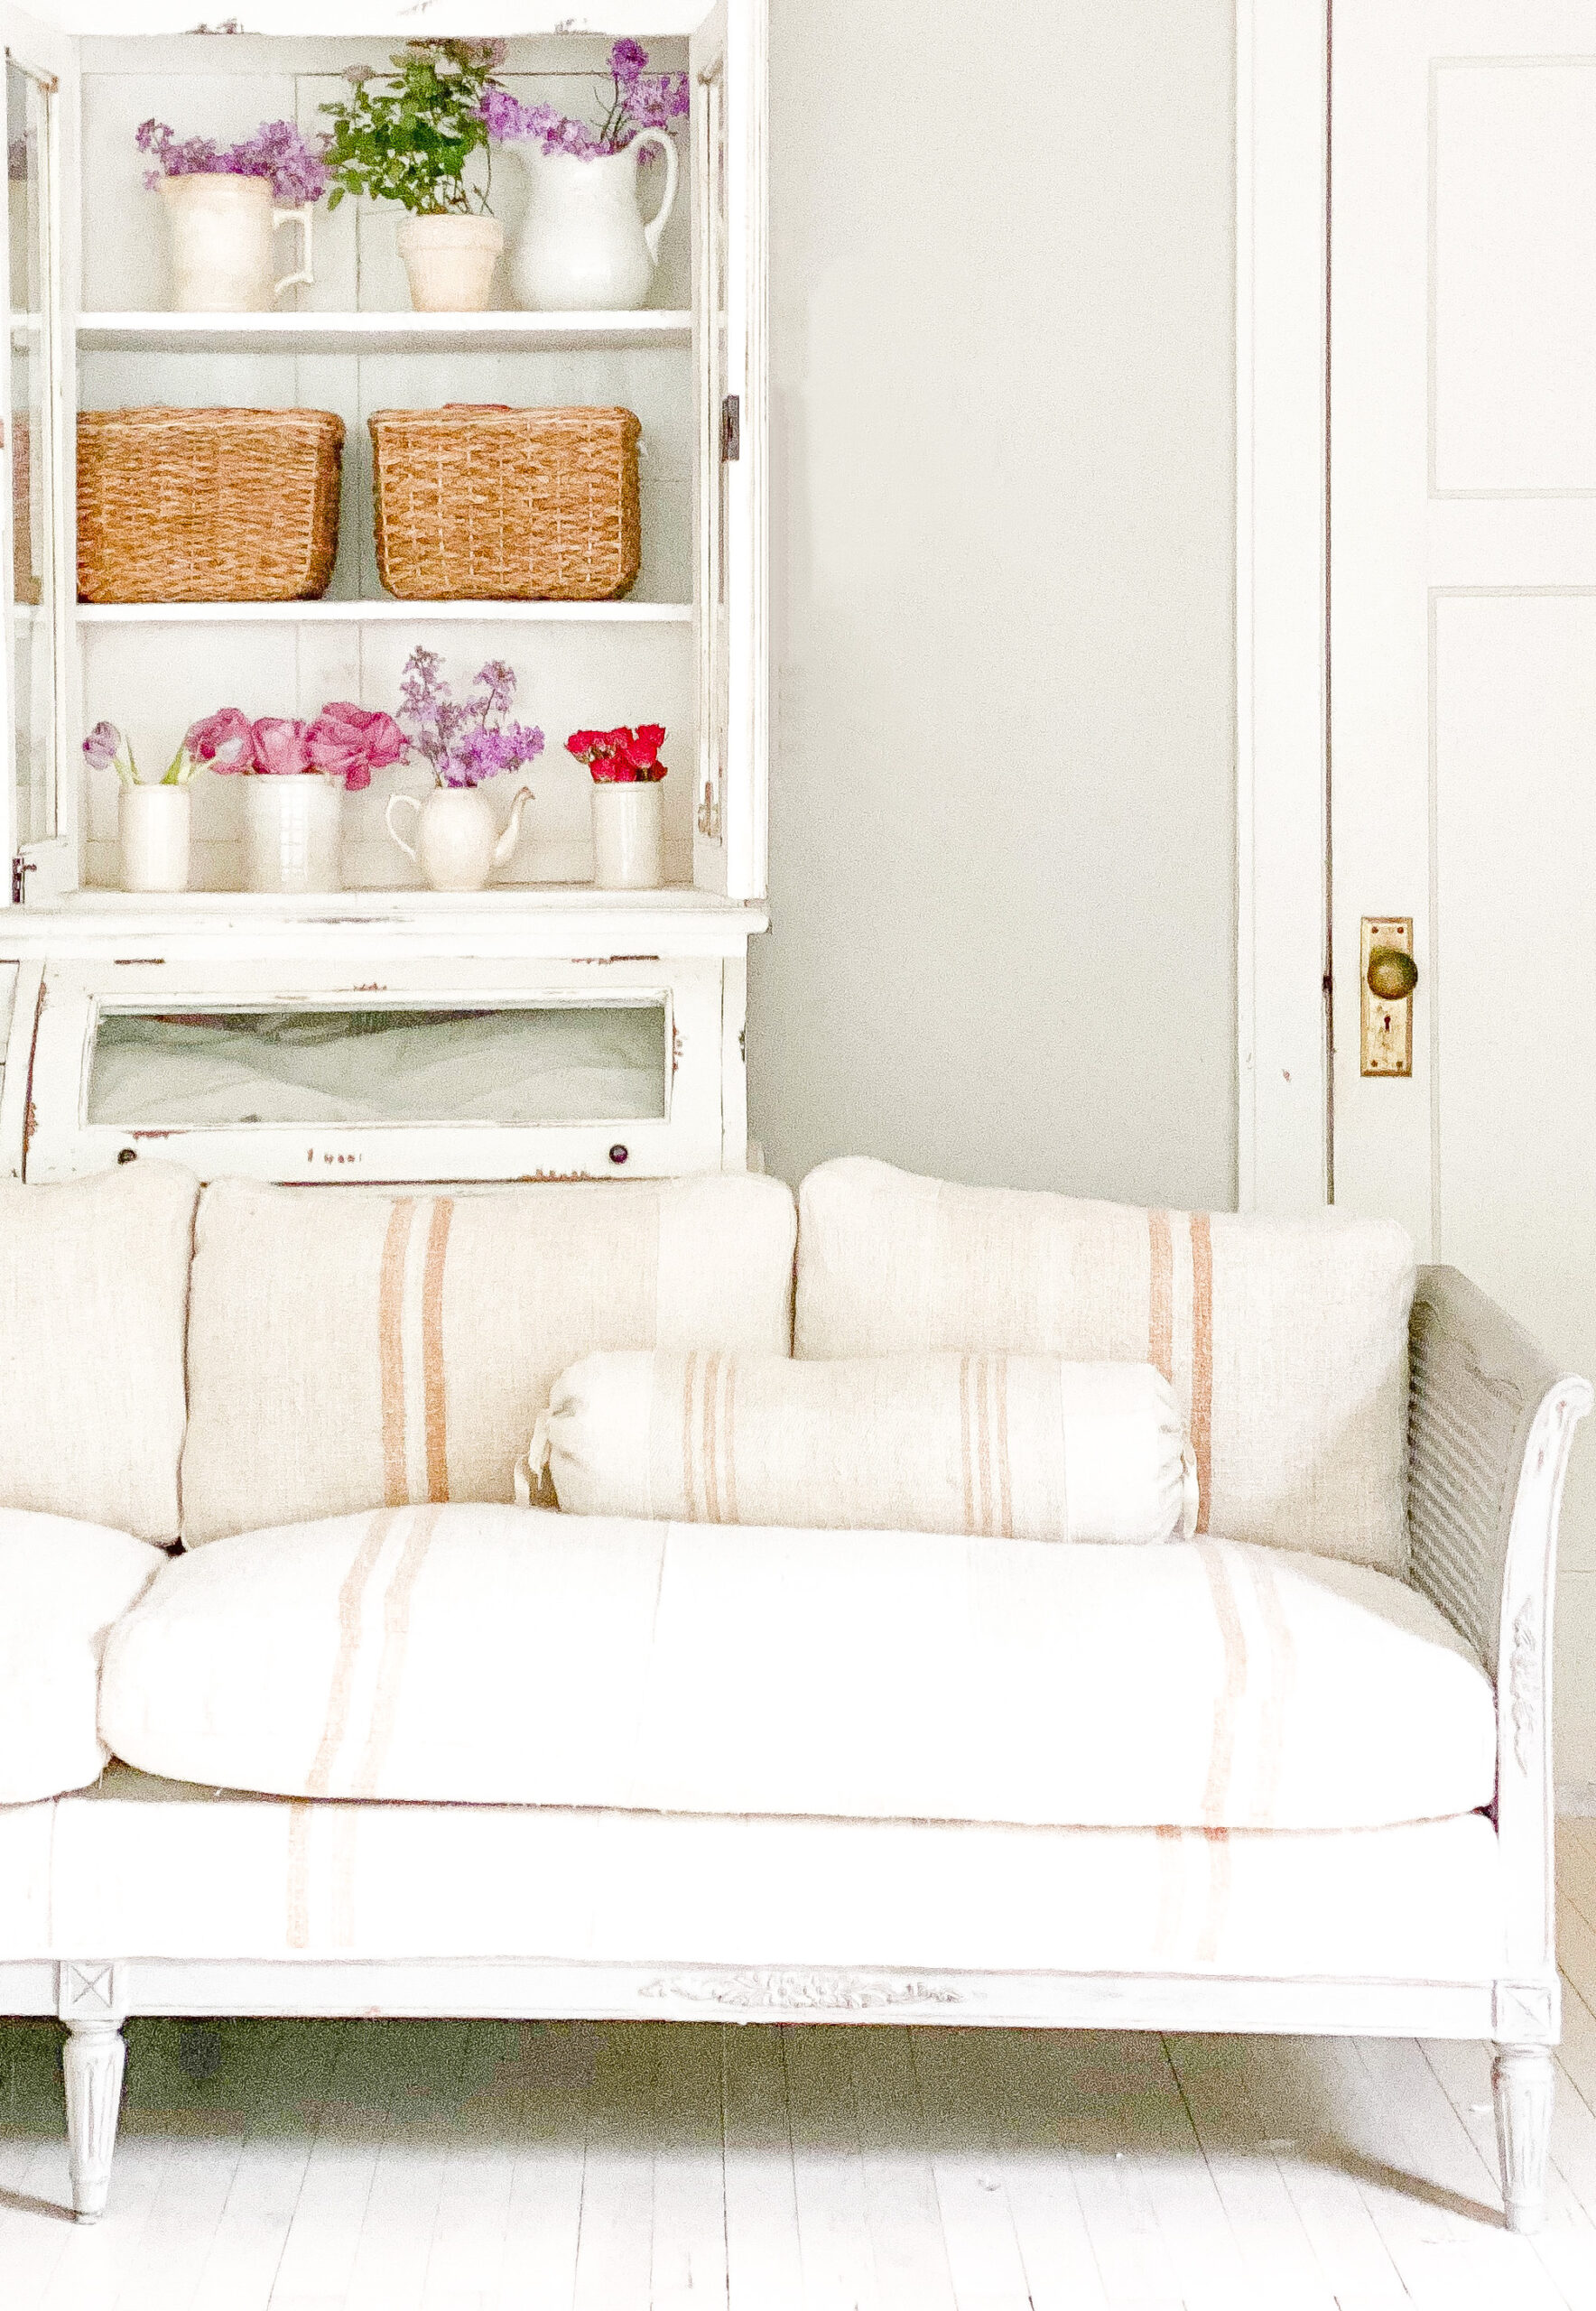
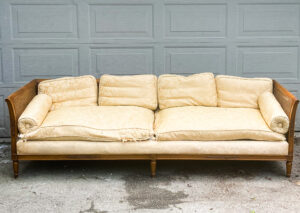
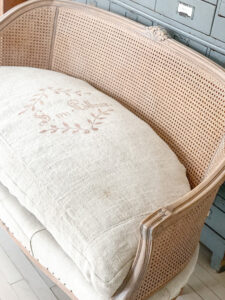
My most recent and one of my favorite makeovers (I should look back, do I say this about every project? But every project does have a bit of my heart, but I really, really love this one), was of this vintage sofa. I spotted this sofa at an estate sale in my neighborhood. I wouldn’t say that it was love at first sight, but I saw its potential, and thought it would be a reasonably strait forward makeover. I liked the idea that there wasn’t a lot of reupholstering that needed to be done to the structure other than the base, although there would be a lot of sewing to replace the fabric on the cushions. Anyway, it was good option, I just thought I would let fate decide. This estate sale allowed for bids to be placed, so I placed an offer for a 50% price if it didn’t sell by the end of the first day of the sale. I got it, obviously :).
At first I thought I would redo the sofa with German grain sacks with writing, but somewhere along the way, I fell in love with the idea of using grain sack fabric with caramel colored stripes. This is not a color that I have worked with often or at all except for making a couple pillows for a client. And now I am hooked. I bought two 4 1/2 yard rolls of this grain sack fabric for one of my go to shops, Grain Sack. This lovely shop gave me a coupon code for 10 percent off for my readers, it is good through 7/1/2022. The code is: PENNYANDIVY10. I have bought from this shop since 2016, they have hundreds of high quality options of vintage handwoven hemp linen fabrics. I have loved every order and they always arrive clean and nicely packaged.
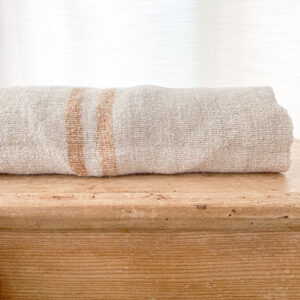
This fabric made me so excited about the project. I loved the tone of the caramel color, and the nubby weave of the fabric. Even with the 9 yards of it, there was not enough for the sofa, so I had to find enough of similar toned hemp linen to piece together to get this project started. Piecing together fabric is usually the only option when using vintage fabrics due to the finite supply. Fortunately I love the look, it feels cozy and homey to me.
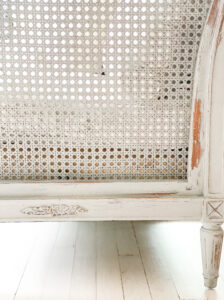
Before I got into the sewing part, I knew I wanted to redo the dated look of the wood. It did cross my mind that maybe I could strip the wood, there are lots of beautiful projects lately of stripped wood circulating around the internet. But I recently tried stripping the finish off a pair of dressers and let me tell you it is not for the faint of heart, it is really messy and takes A LOT of time. I did develop a system and am not totally scared off of trying to strip furniture again, however I wanted a break. I was also worried about damaging the caning on the sofa during the stripping process, so painting it was THE decision.
I chose one of my favorite paints, Miss Mustard Seed Milk Paint, Schloss. It is the perfect warm griege that compliments the oatmeal color of the linen. Before painting I cleaned the wood, and lightly sanded it. The finish on the sofa was very shiny, milk paint has trouble adhering to a nonporous surface, so I added its milk grip bonding agent. It worked like a charm, there was still some chipping, but just the right amount. If you want a lot of chipping, you can apply the milk paint without the bonding agent to a nonporous finish, and that is likely what you will get, although there are no promises. This paint has a bit of a mind of its own, but I am almost always happy with the end product and love what it does. I did two coats of milk paint and lightly sanded it. To seal the paint I used the General Finishes Flat Out Topcoat. This is an easy to use water based top coat that doesn’t add any sheen. I did 3 coats of the this just make sure the durability was strong and present, and that is what the instructions on the can advised :).
My next part to attack was getting the cushions in working order. These were something. This sofa was incredibly sturdy and made with super high quality everything, except the seat cushions. The seat cushions were a thin down envelope with springs in them. It was a terrible choice of ingredients to make a cushion in my opinion. There was a thin foam layer that was used to either hold the springs in place or add cushion. Either way, the foam was disintegrating and the springs were a mess. And there was burlap mixed in too.
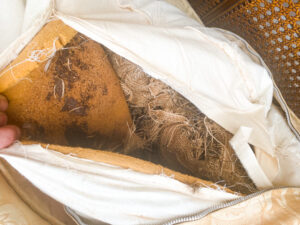
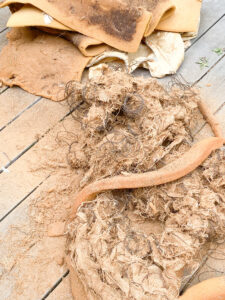
I removed that train wreck and was left with a thin envelope of down. This was in great condition, and all the feathers were IN the fabric, which is huge. Chasing feathers is not my favorite.
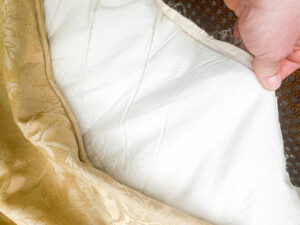
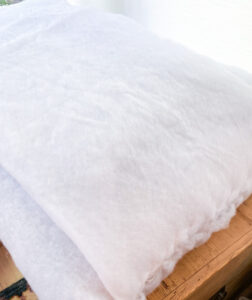
I used this technique that I described in this post to replace the springs with 3 inch foam and still using the down envelope. I finished up by wrapping the cushion in two-three layers of dacron to make a full cushion. I was very pleased with these cushions and the quality of the felt very comfortable. Thankfully the back smaller cushions for the back were in great condition and were all down filled. No springs. I did wrap these with dacron to make them full also.
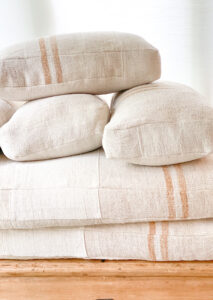
Now the cushions needed new covers. I made them using this technique in this post. Although I did not need to make a pattern for the cushions, I just measure the fabric from the original cushion and since they were rectangles I followed those measurements. I did not measure the original cushions because they were not full and not in good condition. But the fabric was and gave me accurate measurements. I made six cushion covers. It took awhile. But it was worth it.
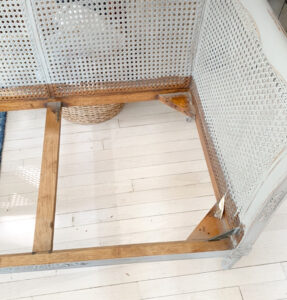
All that was left was reupholstering the seat base. At this point I realized I unscrew the base and remove it to reupholster it. I wished I had realized this when I had painted it. I need to do a little painting to cover the missed spots.
Anyway, having it removed I was able to wrap the base almost like a present. But first in ordered to get a piece of fabric that size, I used some natural duck canvas pieced together with the hemp linen. The canvas is not seen because the cushions will cover it, and if someone does get a peek of it then its somewhat similar color to the hemp linen, and it is durable fabric. I whipped stitched the under side of the seams of the new fabric to the old fabric (the old fabric was in good condition, so no need to remove since I would be covering it entirely). You can see how I did this during this makeover post. Then I wrapped the fabric around the corners like you would wrap a present and stapled the fabric in place in the underside.
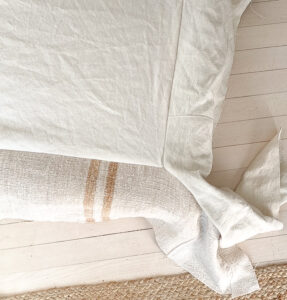
I replaced this bottom and screwed it into place. I did notice about an 1/8 inch gap under this bottom and the wood. I corrected it by adding a 1/4 inch piece of cording wrapped in hemp linen and sewn in place using a zipper foot. Taking this cording I glued in place with a hot glue gun with the seam in the back.
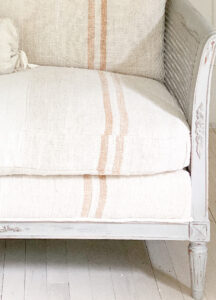
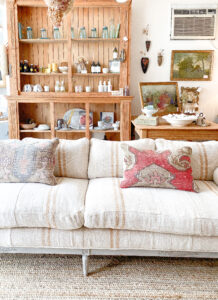
I love how this sofa turned out. I love how comfortable and sturdy it is.
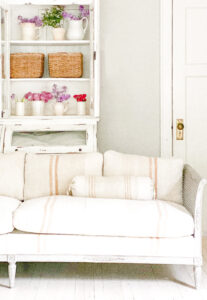
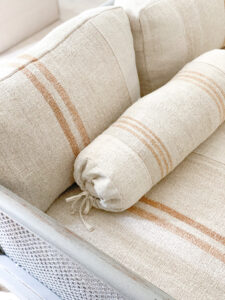
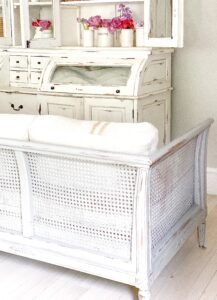
I love that it is 94 inches looong. I love that it is unique but somewhat versatile in its style. I went through my stash of fabrics and tried out a variety of different styles of pillows and I think that they all work.
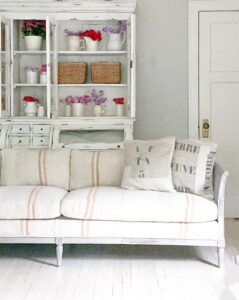
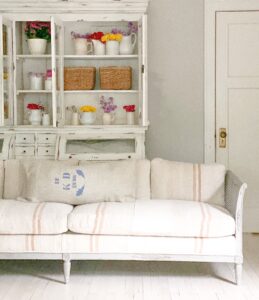
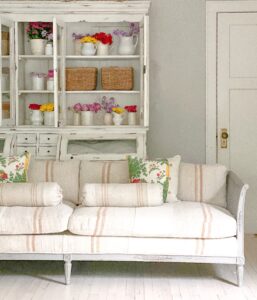
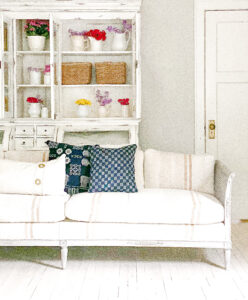
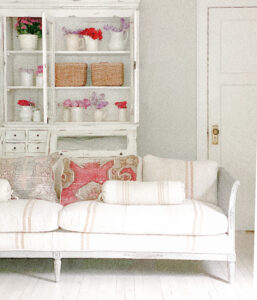
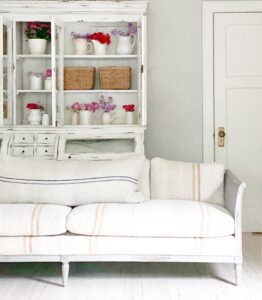
This sofa is currently for sale the charming shop, Anthology Home, in Waukesha. It is such a sweet reward to see the end result in this beautiful space after a couple of weeks of working on it.

Makeover of Two Settees Part Three: Cushion Cover
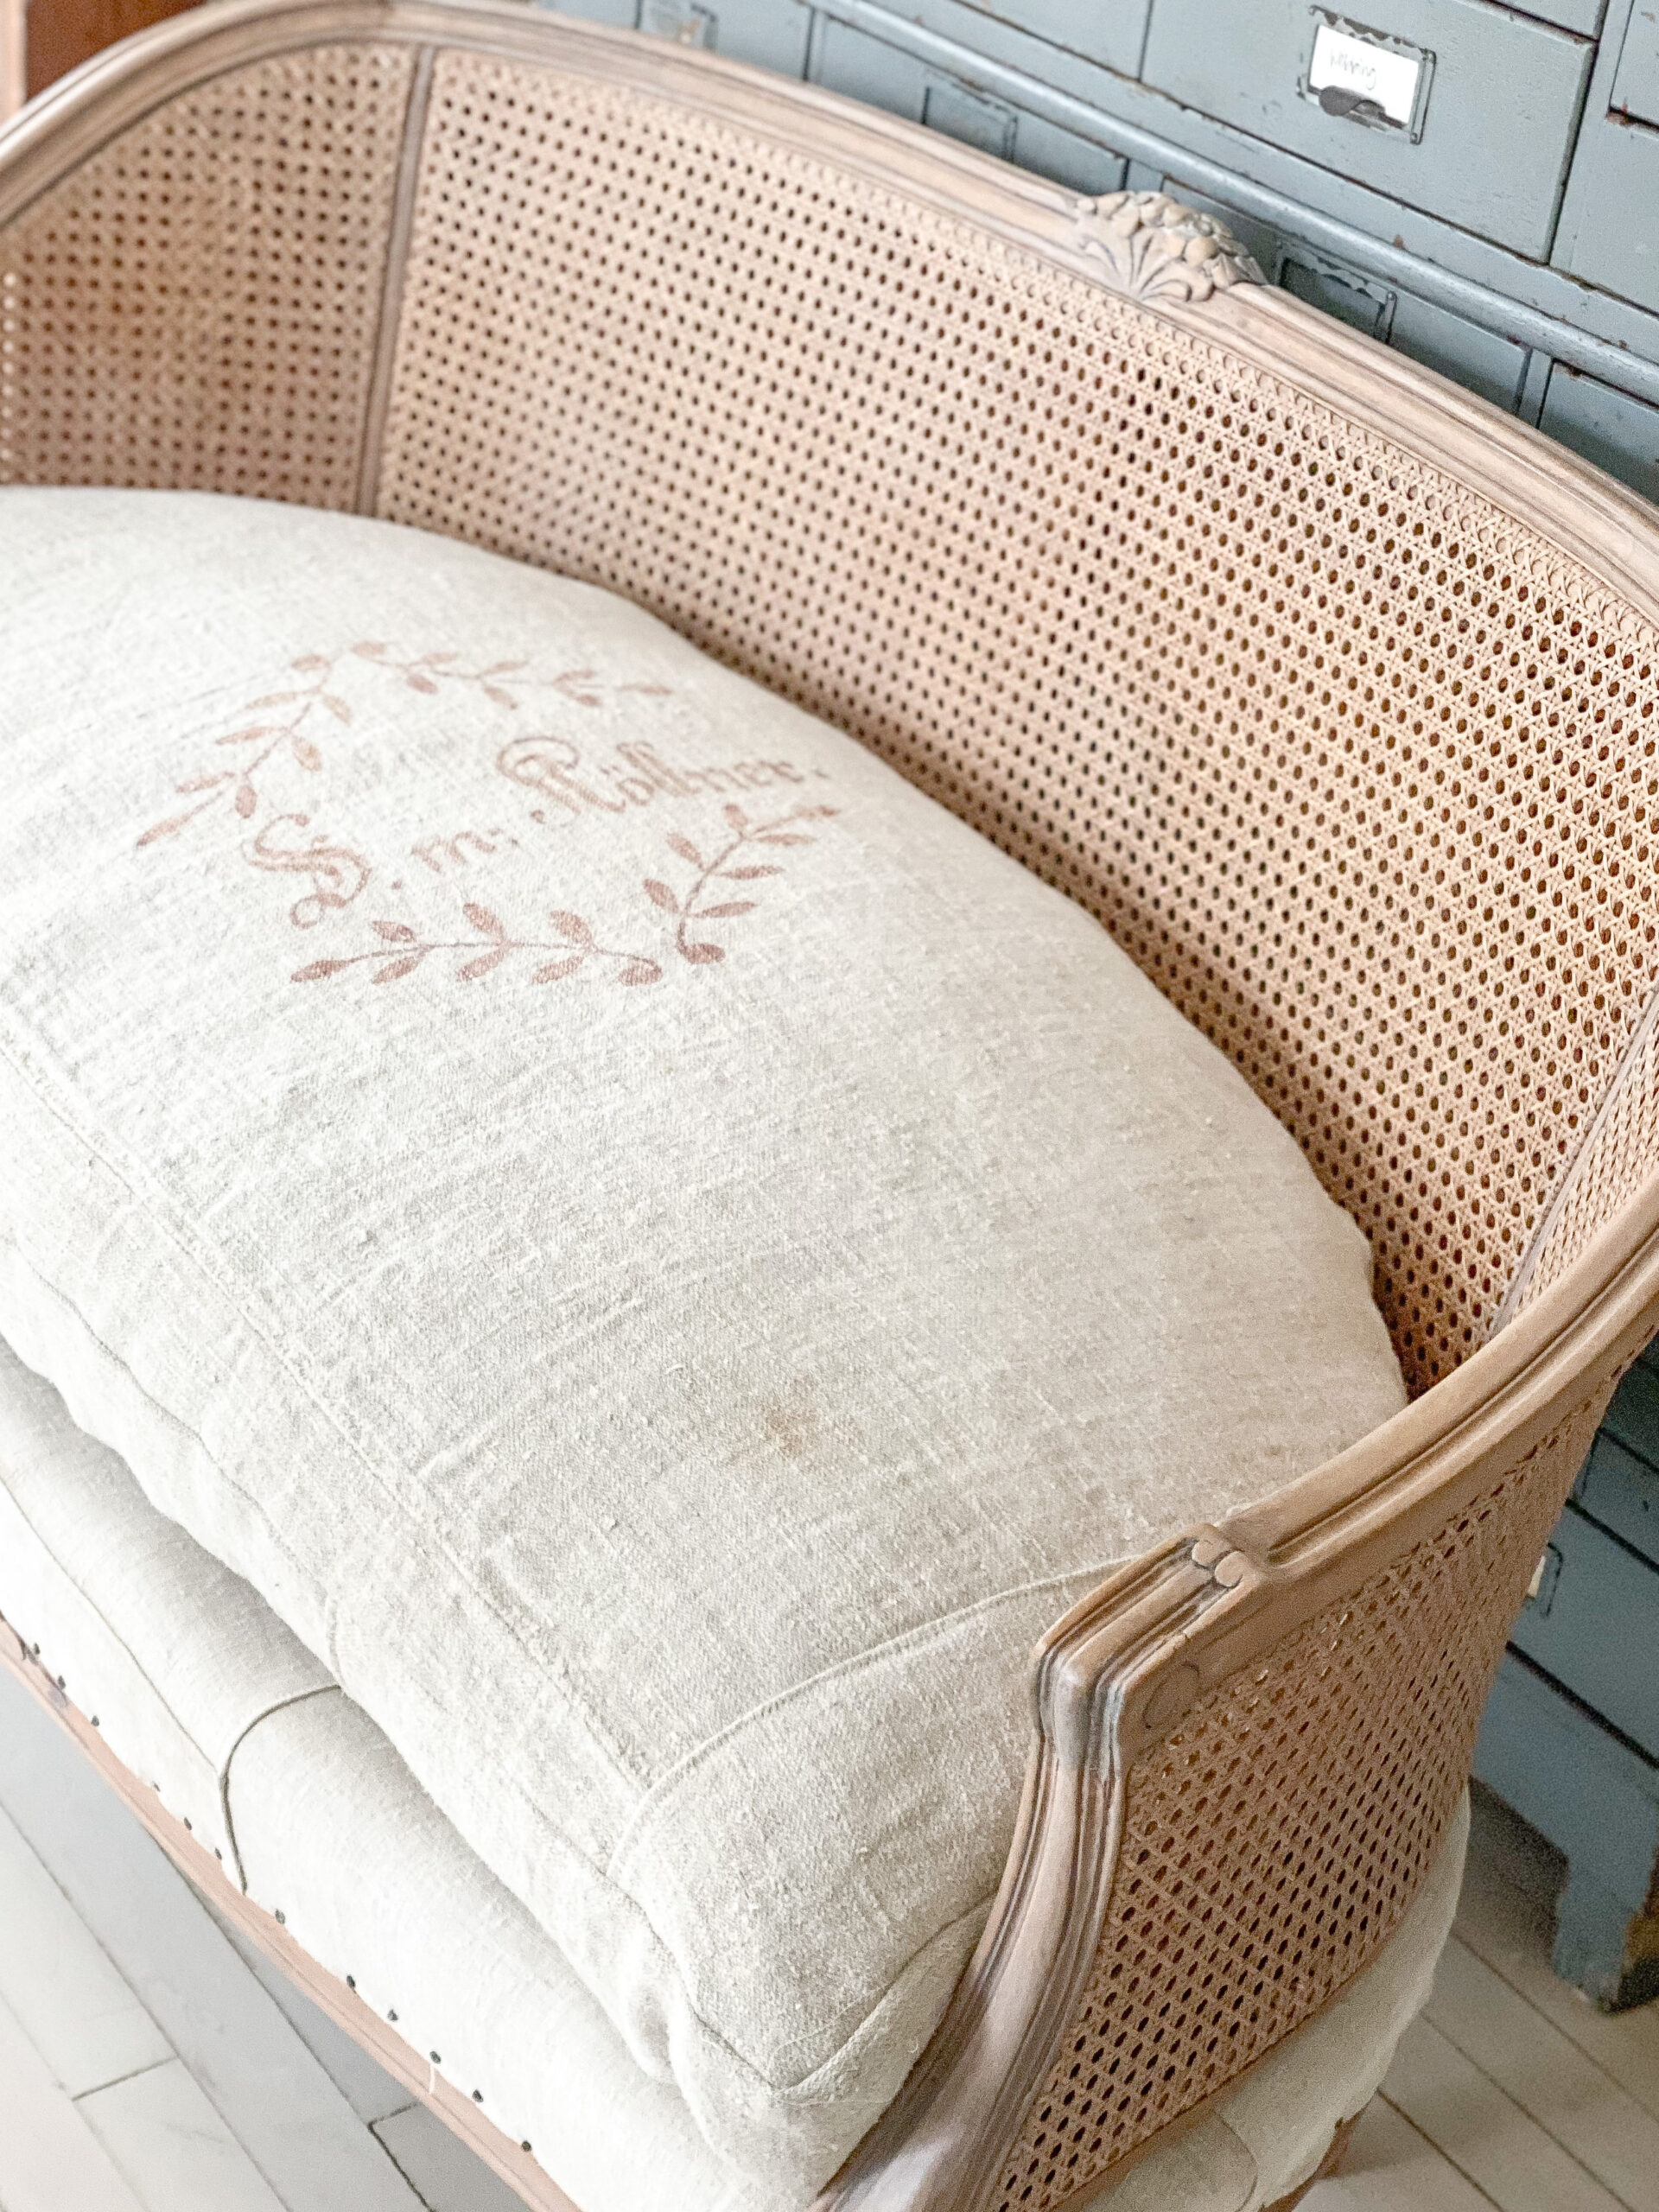
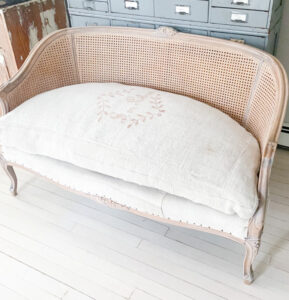
To make a cushion cover(s), I started with my pattern that I created for the seat of the settee. I mentioned this process in the last post, but it would be helpful to have it here too:
CREATING A PATTERN FOR A CUSHION
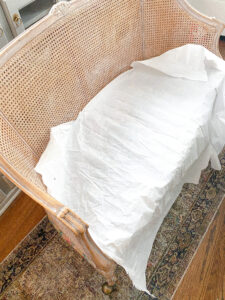
- I took a large piece of paper similar to wrapping paper and placed it on the seat of the settee:
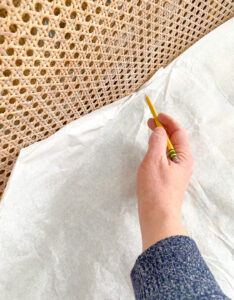
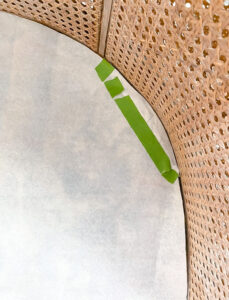
2. I traced around the seat to and cut out the paper:
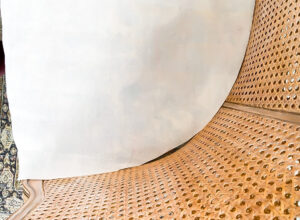
I cut the paper a bit too short in the corner here so, I corrected with with a bit more paper and tape.
CUTTING OUT FABRIC PIECES FOR THE CUSHION
- I first cut out a top and bottom of cushion using a the pattern I created and ADDING 1/2 INCH around the pattern for seam allowance.
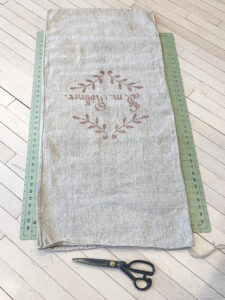
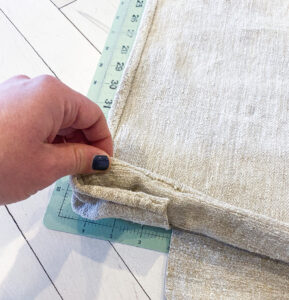 Since I was using a grain sack in which one side was not wide enough to cover the top, I made cuts on the bottom side, so I could create a piece large enough for the top of the cushion. If you are here, you are likely to know that vintage hemp linen is my thing. The quality and history of the fabric is very special to work with. Here is a list of some of my favorite shops to buy this kind of fabric: Brocante und Antikes, Objekts1, Grain Sack, Linens by Sabine, Antique Monkeys, The Textile Trunk
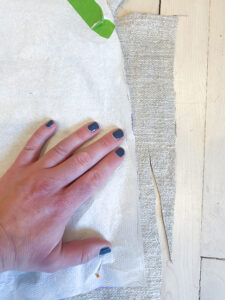
DO NOT FORGET TO ADD 1/2 INCH ON ALL SIDES FOR SEAM ALLOWANCE
2. Next up is cutting out the sides of the cushion. My cushion was 3 inches tall so I cut one strip that was 4 inches that was long enough to wrap around both sides and front.
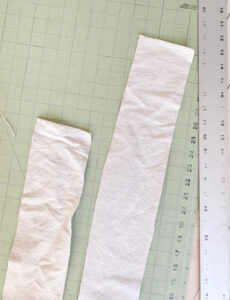
3. Then I cut two 4 inch wide strips long enough to cover the back. These are used for the zipper that will go in the back of the cushion.
FINISHING EDGES OF FABRIC
With all the pieces I used my serger to finish off all the edges. If you don’t have a serger you can do a zigzag stitch around all the sides with a sewing machine. This is important if this is a cushion that will be washed in the future. If the edges are not finished there will be a lot of fraying. I did wait to serge one long edge of the strips of fabric used for the zipper because I will likely need to cut it down after the zipper is sewn in.
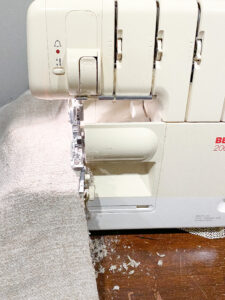
SEWING IN THE ZIPPER
- Using the two strips of fabric I cut for the back zipper, I begin by making an inch fold across the long side of the strips and ironing it into place.
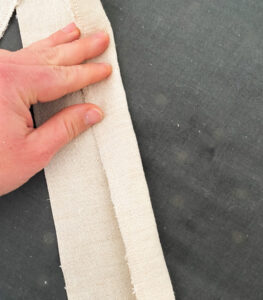 You can see on one side of the piece of the fabric the serged edge.
2. Then I sew a small piece of fabric in place on both ends of the zipper to stop the pull from sliding off, unless there is a metal stopper on the zipper already.
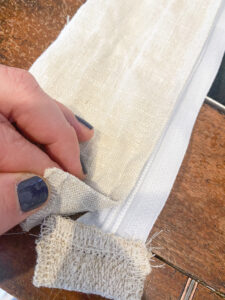
3. Then I pinned the zipper in place on one strip of fabric, allowing at least an inch of overlap before and after zipper handle lengthwise and enough fabric to cover one half of the zipper keeping it hidden. Using a zipper foot on my sewing machine I sew it in place.
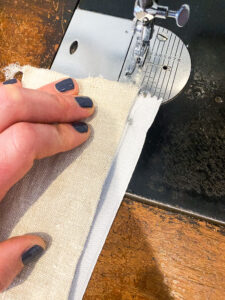
4. Repeat with the second strip of fabric.
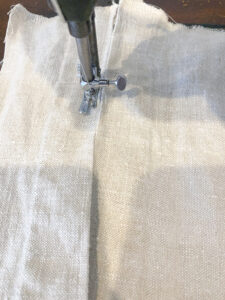
6. Before and after the zipper I place a couple stitches to sew the fabric together:
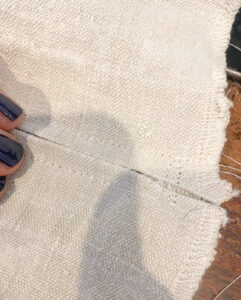
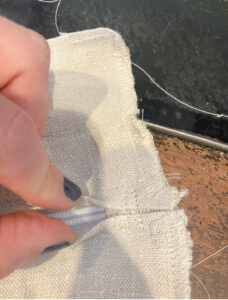
7. I cut my strips too wide on purpose, just to leave room for error. So now with the zipper in place I cut this finished product down to 4 inches so it is the same size as the front strip.
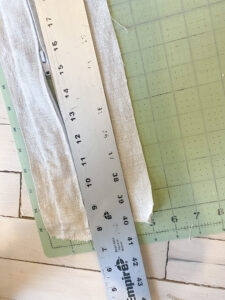
8. After trimming to the correct size, I serged the raw edges.
SEWING CUSHION PIECES TOGETHER
- I begin by sewing one end of the zipper piece with one end of the plain strip for the front and sides. With right sides of the fabric together. I use a 1/2 seam allowance.
- Then using this strip that has one open end, I pin the zipper in place to the top of the cushion piece exactly where I want it. Again with the right sides of the fabric together. Then I continue to pin the plain side piece until it meets the other end of the zipper. Next I connect the other ends of the zipper and plain strip and sew them together. I like to do this at this time because I always seem to get measurements wrong.
- With one side of the zipper/side piece pinned in place with the top of the cushion I sew them together with a 1/2 inch seam allowance.
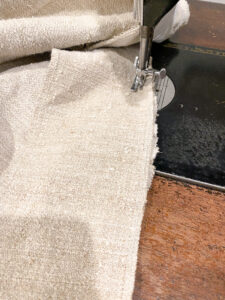
- Then I pin the bottom of the cushion to the opposite side of the side/zipper piece. With right sides of the fabric facing each other. You must be very careful to line up the corners of the top and bottom at this time. I also make sure a couple inches the zipper is open so that after sewing I can completely unzip it to turn it right side out.
- Sew the bottom in place with 1/2 seam allowance. And turn the cushion right side out.
- Then you should have a finished cushion cover. Try it on. Sometimes I find corners can be tricky so I add a bit of batting in them to add a some fluff. I also will cut a couple small slits in the corner pieces of the fabric just short of the seam to avoid some pulling at the corners.
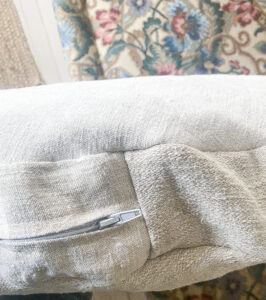
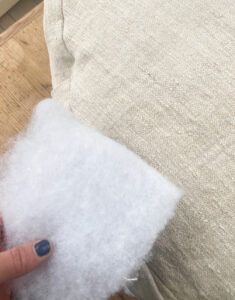
- If the cushion fits then I take the time to add another stitch all around the sides. For upholstery pieces I like to have double seams. If it doesn’t look quite right, that is what a seam ripper is for, I often have to correct sections of my cushion. I typically don’t completely start from the beginning, but I with remove a section of stitching that I am not pleased with and try again with that part. Be patient with the process, these are tricky and take some time, but its definitely worth it in my opinion.
GOOD LUCK!!!
Please email me with any questions, pennyandivydecor@gmail.com

